Seal Reclaimed Wood Without Changing the Color: 6 Steps
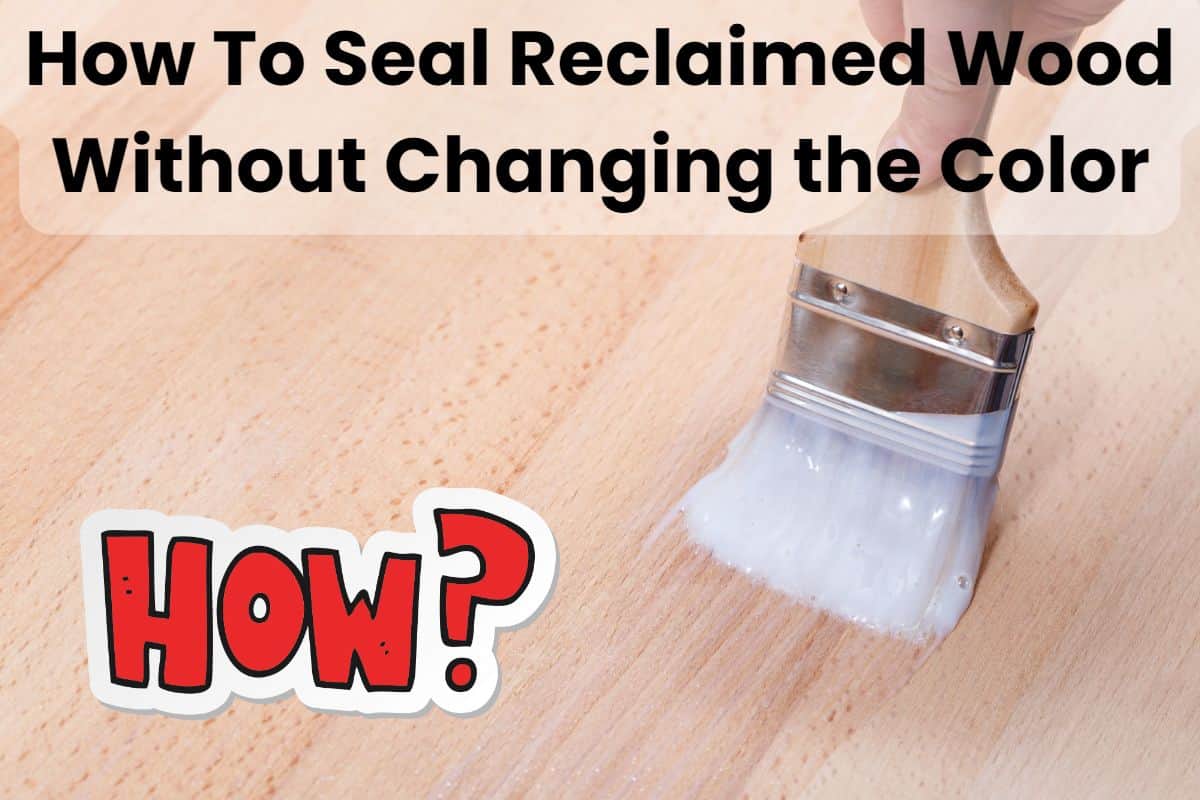
Reclaimed wood is a great building material because it is sustainable and durable, but also because it is unique and versatile.
If you’re using reclaimed wood in one of your projects, you may want to preserve its unique color and texture, so you must be careful when sealing and finishing it.
Is it even possible to finish reclaimed wood without changing its color?
To seal reclaimed wood without changing the color, you need to choose water-white sealers. Sand the surface, clean it with a vacuum and a wet cloth to remove particles, and then apply the sealer. Wait for the sealer to dry out before applying another layer or adding a top coat.
If you want to know more, read the rest of this article. Then, I will explain every step of finishing and sealing reclaimed wood without changing the color.
I will also include helpful tips so you can use reclaimed wood in your projects while preserving its unique character.
1. Choose the Right Sealer
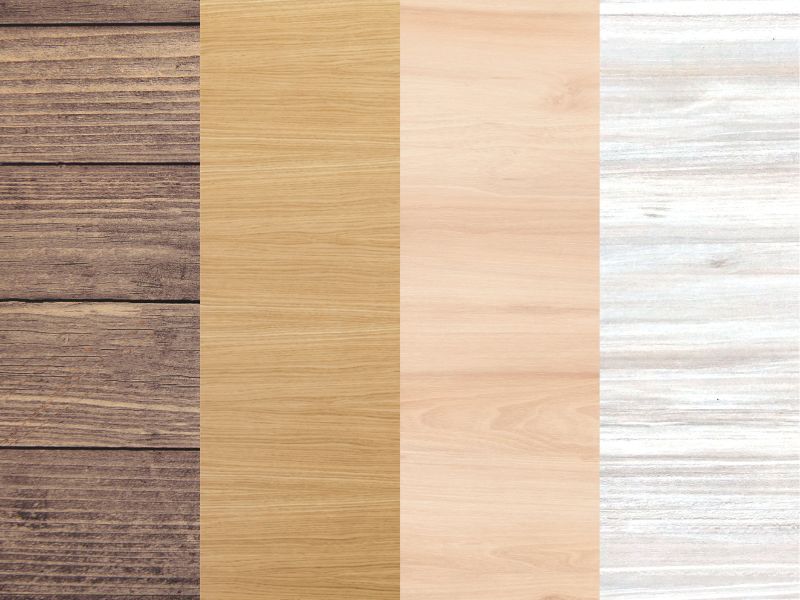
The most crucial step in this process is the choice of the sealer.
There are many different sealers available out there, and you may be overwhelmed with all the choices, but you should focus on the ones that are less likely to alter the color of the reclaimed wood surface of your project.
You have a few different options in this case. First, you can choose between acrylic lacquer sealer or water-based polyurethane sealer for the best results. These two types of sealers are made to alter the look of the surface as little as possible, which is what you’re looking for.
Avoid oil-based sealers because they typically add a golden tint and shine to the wood.
Whatever type of sealer you use, you should be careful only to choose the water-white versions. Water-white is a term used for all kinds of finishes and lacquers to show that they are colorless, so they cannot add any type of tint or shine to the surface.
All the sealer types that I mentioned above have colorless versions.
2. Sand the Reclaimed Wood Surface
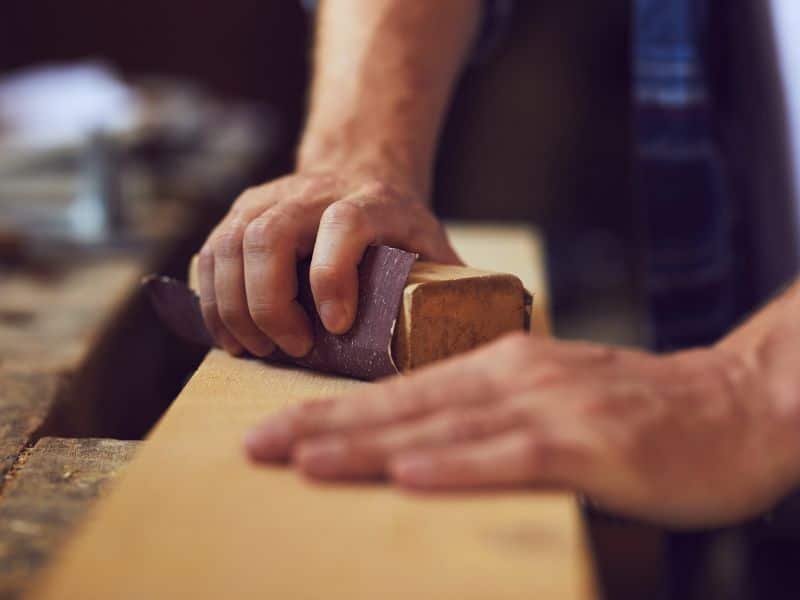
Once you select the right sealer, you can proceed with the sealing process, which always begins with sanding the surface before applying any sealer.
This is particularly important for reclaimed wood because this process also gets rid of any surface impurities and unwanted materials that the wood has collected over the years.
To sand the surface, you should select high grit sandpaper if the surface is relatively smooth, but you can also go for a coarser one if it needs more cleaning.
To sand the surface, start moving the sandpaper against the surface in the direction of the grain, making sure to apply even pressure throughout the process.
After you sand all the surfaces, you should inspect your work. See if you have covered all the spots and if you need to repeat the process in certain areas. Keep sanding until you see a clean and uniform surface where you can apply sealers and finishes.
3. Clean the Reclaimed Wood Surface
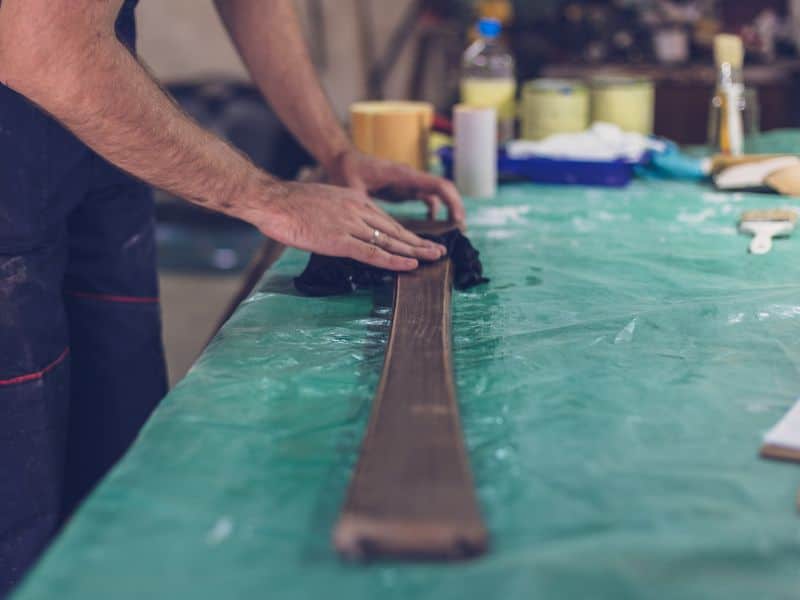
If you have sanded the surface properly, you can proceed with cleaning it. The first thing you need to do is vacuum it to ensure you get rid of all the particles that can mess up the rest of the process. Next, vacuum the surface thoroughly and clean it with a cloth.
The cloth should be damp to catch any particles the vacuum cleaner did not get. You can moisten the cloth with water or a special wood cleaner to ensure the surface is properly cleaned.
Understandably, the wood will get darker when you clean it with a liquid, but you should not worry; the color will go back to normal as the wood dries out. Wait for the surface to be completely dry before proceeding with the next step.
4. Apply the Sealer
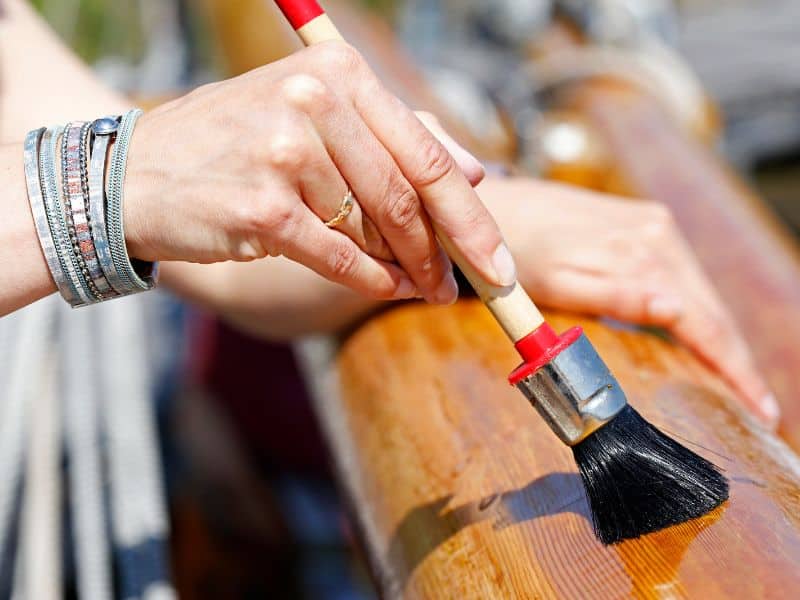
The next step is to apply the water-white sealer that you bought.
You can apply the sealer with a brush or a cloth, depending on what you’re comfortable with or what look you want to achieve. Some people recommend using a cloth to avoid streaks, but others prefer a brush for more precision.
Either way, apply the sealer using long, even strokes on the surface. If you’re working on a particularly large surface, you should not attempt to seal the whole surface at once; work with smaller sections until the entire thing is properly sealed.
You shouldn’t overdo it with the amount of sealer, but you should also not be too conservative.
5. Re-Apply the Sealer if Necessary
Once you apply the first coat of sealer, you should wait around 24 hours to allow it to dry out. Even if the surface seems dry before that, allow a whole day to pass before doing anything else to ensure the material is properly sealed.
In some cases, you’ll find that a single layer of sealer is all you need, but sometimes a surface may need a second layer for more protection; this will especially be the case with outdoor wood, which will be exposed to much more sunlight and water.
To apply the second layer of sealer, you should wait for the first layer to dry out completely and then continue with the same steps described above.
Once you finish with the second layer, wait another 24 hours before doing anything else with the piece of reclaimed wood.
6. Optional: Apply a Top Coat
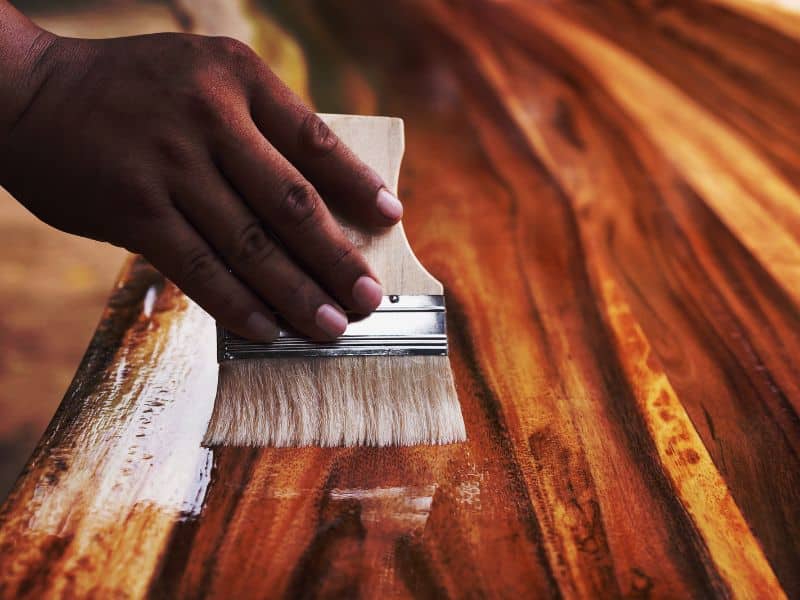
Not everything needs a top coat, but if you want the extra layer, you can apply it after all the layers of sealer. In most cases, a top coat does not alter the color of the wood, but it can add a bit of luster and shine, which can be preferable in some cases.
Make sure the surface is completely dry before adding the top coat. Then, use a brush or a clean cloth to apply the top coat, using long and even strokes on the surface.
After covering the whole surface, you should wait for the top coat to dry out completely, just like you did with the sealer. The top coat may also take around 24 hours to dry out completely.
After adding the top coat and waiting for it to dry, your reclaimed wood is ready to use. You will notice that you have managed to preserve the unique color and texture of the reclaimed wood, even after adding several layers of sealer on top of it.
Final Thoughts – Can You Seal Reclaimed Wood Without Changing the Color?
Using reclaimed wood for your projects can be beneficial in several ways, including adding character and a unique look to your wood.
However, when you try to seal or finish the surface of reclaimed wood, you may alter its color, which could ruin the reclaimed wood look.
To seal the wood without changing its color, choose acrylic or polyurethane sealers and ensure they are water-white.
Sand the surface and clean it before applying as many layers of sealer as you need.
For more ideas on how to use reclaimed wood, read our article about reclaimed wood ceilings.


