Preserving and Staining Reclaimed Wood – Best Ways in 2023

As with any wood, reclaimed wood requires preservation and staining to stay in its top shape.
However, preserving and staining reclaimed wood can be tricky since we always want to preserve the wood’s natural and rustic gray patina. Unfortunately, most finishing products used on virgin lumber will darken and strip the natural look of your reclaimed wood.
Besides choosing the best sealer for reclaimed wood, you’ll also face the challenge of nails, screws, and other fasteners. Moreover, you should be ready to encounter bugs and insects that may have made a home in the wood.
How do you tackle these challenges to ensure your salvaged wood is well-preserved and stained?
In the rest of this article, I’ll discuss the different ways to preserve and stain reclaimed wood with their pros and cons. I’ll also tackle how to seal barn wood without changing the color.
Keep reading to know how to treat barn wood for indoor use.
Reasons to Preserve and Stain Reclaimed Wood
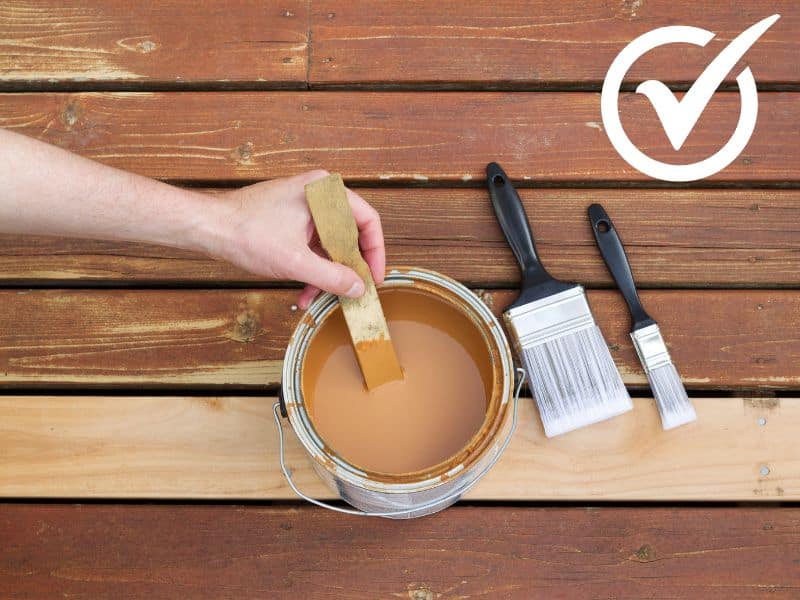
Can you stain reclaimed wood? This is a question many homeowners want to know.
It’s advisable to preserve and stain reclaimed wood for the following reasons:
- Preserve and extend its longevity: Staining prevents the wood from absorbing moisture by sealing off the pores.
- Protect it from UV rays: Staining adds a layer of protection against UV rays that would otherwise cause surface photo-degradation.
- Uniformity: Salvaged wood has different colors and textures because it’s sourced from different structures. Therefore, you can achieve uniformity by staining it with different reclaimed wood stain colors.
- Enhance sustainability: Salvaged lumber contributes to sustainable building as it helps conserve forests while reducing the amount of waste wood that gets into landfills. However, preserving and staining increases its lifespan, making it a more sustainable building material.
- Aesthetics: Reclaimed timber has a unique character and charm that’s often sought after in interior design and construction. By staining it, you enhance its natural beauty and bring out its unique features, such as knots, grain patterns, and other imperfections.
- Cost savings: Paint can easily crack and peel away in structures like decks and floors that endure heavy impacts and high foot traffic. This makes regular recoats necessary. However, besides being cheaper, stains take impacts better, eliminating the need for constant recoats.
Reclaimed Wood Stains and Finishes
Choosing the best finish for reclaimed wood can be challenging due to the many options on the market. Remember, you want a stain that will preserve and maintain the wood’s rustic patina.
That said, here are the different staining options with their pros and cons:
Oil-Based Stains
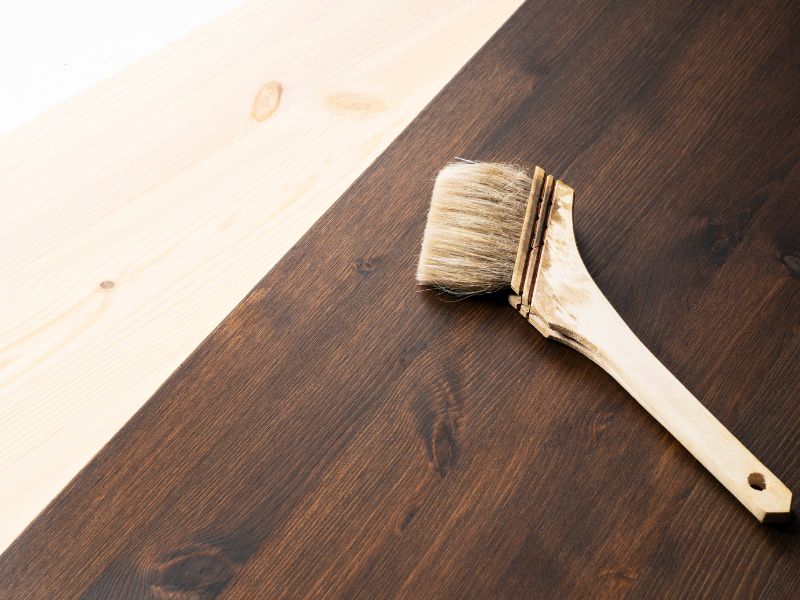
This is the most common wood staining option that’s readily available and easy to use.
Oil-based stains can be formulated with linseed oil for added nourishment and protection. Since linseed oil is hard-wearing, it penetrates deep into the wood, forming a protective layer.
Pros
- They result in a more richly colored finish.
- They result in a smooth finish due to their slow-drying nature.
- They form a thick, deep, penetrating finish that lasts longer.
Cons
- They are prone to yellowing, particularly in areas exposed to sunlight.
- They are slow-drying and require more time to cure.
- They are unsuitable for reclaimed wood as they darken over time.
Water-Based Stains
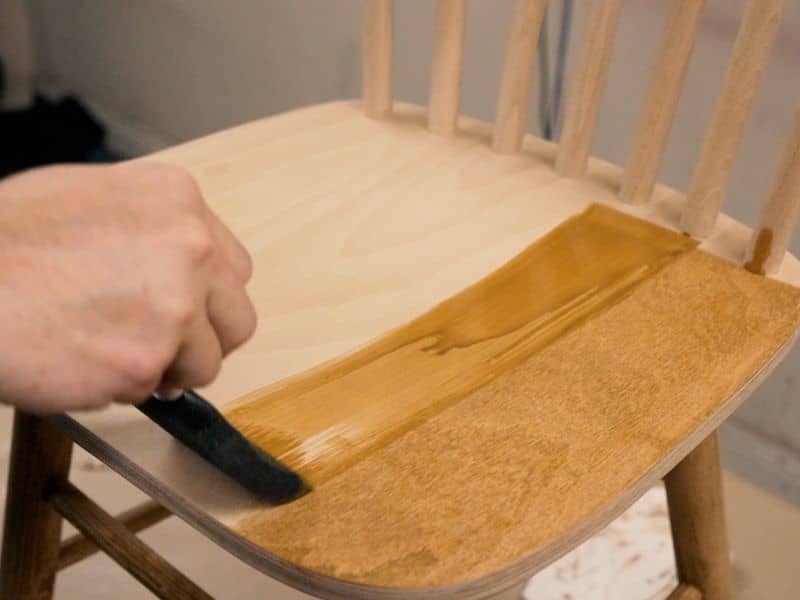
These are good options for protection against mold and mildew. Due to their fast-drying nature, water-based wood stains are ideal for smaller projects.
Unlike their oil-based counterparts, water-based stains are not deep-penetrating.
Pros
- They are fast-drying, making them the best option if you’re in a hurry.
- They are eco-friendly since they contain fewer pollutants.
- They are easy to clean up due to their water-soluble nature.
Cons
- They form a thin layer of protection that doesn’t last as long; therefore, they require regular recoats.
- More coats are needed for the richest possible color.
- Possibility of brush strokes remaining visible due to its fast-drying nature.
- Not as suitable for reclaimed wood as it darkens over time.
Gel-Based Stains
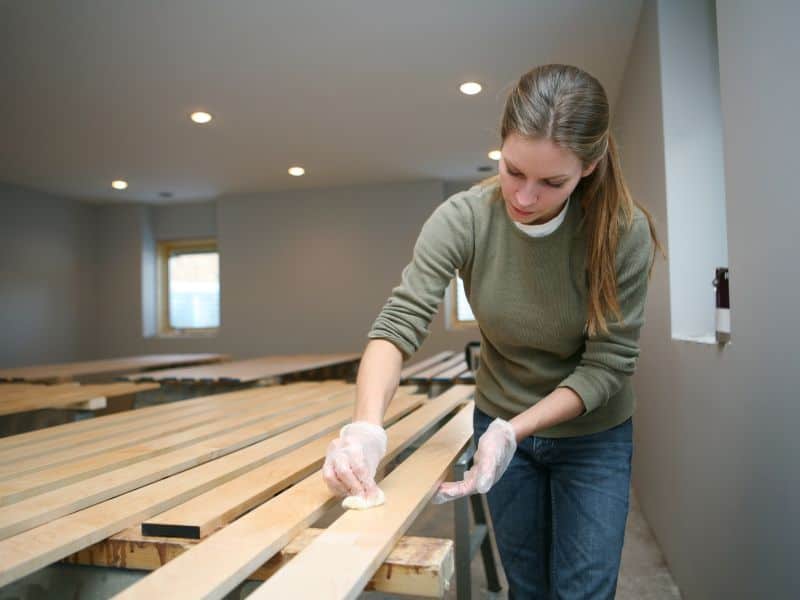
The main difference between oil-based and gel-based stains is that the latter are thicker than the former.
The thickness of gel-based stains means they make wood finishing easier by eliminating the need for careful brushstrokes.
Since gel-based stains adhere well, they are less prone to peeling. Thus, they offer a long-lasting finish.
Pros
- They form an even and consistent coloration with minimal brush strokes.
- The thicker texture offers better coverage, making it ideal for large projects.
- They don’t require frequent recoats since they last longer.
- They are the best sealer for reclaimed wood because they maintain the wood’s unique markings and texture.
Cons
- They are difficult to apply due to their thick nature.
- They can result in blotchy finishes if the wood is not prepared well.
- They are pricier than other staining options.
The Process of Preserving and Staining Reclaimed Wood
Now that you know what products to use, it’s time to learn how to finish reclaimed wood. This includes how to treat reclaimed wood for bugs.
Surface Preparation
Surface preparation is the first step in staining reclaimed wood, especially pallet wood, which can be somewhat rough.
Preparing the surface is crucial, especially for reclaimed wood, since it has been used previously and may contain objects and bugs hindering the staining process.
The following are the processes undertaken during surface preparation:
Checking for and Removing Fasteners
Since reclaimed wood is salvaged from barns and other structures, it’s highly likely to contain nails, screws, and other metallic fasteners.
These fasteners are a safety risk since they can pierce your hands while working on the wood or damage a saw blade.
Start by looking at each board carefully to identify any metal and remove it with a hammer.
It’s worth mentioning that some nails and screws may be deep inside the wood due to its weathering. Therefore, you’ll need a metal detector to locate them.
This step on how to treat reclaimed wood for outdoor use ensures that the wood is safer for yourself and your tools.
Watch the video below if you need assistance removing nails from your salvaged timber:

Checking for Bugs and Removing Them
Wood is prone to bugs, especially when previously used on a different structure. Common bugs that infest wood include:
- Termites
- Beetles
- Silverfish
- Carpenter Ants
Before purchasing, ask the seller if the wood was treated for pests. A rule of thumb is to ensure it’s kiln-dried to eliminate the pests.
Alternatively, inspect the wood for signs of pests, such as holes, sawdust, and droppings. If you come across any, prime the timber with a borax solution.
If you don’t have borax, wrap the wood in plastic and place it in the sun for several hours. The sun’s heat forces the bugs from the timber, and the plastic suffocates them.
However, kiln drying is the best approach if you want to know how to treat reclaimed wood for bugs. This method monitors heat levels to ensure the wood is not damaged.
Cleaning
After preparing your wood’s surface, the next step is to clean it.
Reclaimed wood contains irregularities, existing stains, and dust. Fight as you will, your results won’t live up to the expectations if you don’t clean to remove these particles.
It’s common to see people cleaning their wood by sanding them. Although this is an ideal cleaning method, it’s unsuitable for reclaimed wood.
Sanding your salvaged wood destroys its beautiful gray patina.
Although some people use 100-grit sandpaper on salvaged wood, you must tread carefully if you want to go this route. Ensure to apply a very light manual sanding to prepare the surface for waxing.
The two best ways to clean your wood include:
- Using a dry brush to remove pollen, splinters, and dust.
- Using a small amount of soapy water and a nylon brush to clean the surface. However, you must allow the wood sufficient time to dry before applying the gel.
Choosing the Right Stain
As discussed, gel-based stains are the best for reclaimed wood. However, it’s worth noting that not all gel-based stains will work well for reclaimed lumber.
Traditional gel-based waxes alter the color of barn wood. Therefore, they are not the best option since we want to preserve the gray rustic patina of reclaimed wood.
Renaissance wax is the best option for preserving the wood’s original color. This wax protects against dirt and moisture without changing the wood patina.
Applying the Wax
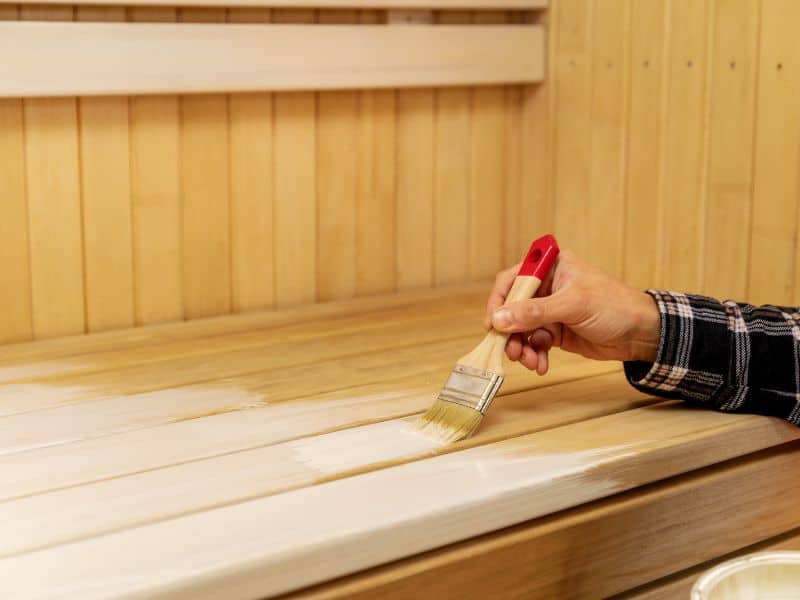
Use a brush with natural and short bristles or a clean cotton rag to apply the wax.
Apply the wax in a thin coat and let it settle for about 10 minutes before buffing it with a clean cloth.
Do not use hard tools on the wood after waxing since it will affect its patina.
Allow 24 hours for the wax to cure before polishing. Because this wax is completely clear, you can polish it to its full gloss.
Preserving Reclaimed Wood
After staining and polishing the wood, it’s now time to preserve it. Preservation keeps the wood looking its best for longer.
The following are the best ways to preserve your wood:
- Sealing: Coating the wood with a sealant protects it from moisture and dirt. However, you must use a clear polyurethane sealant to preserve the wood’s original color.
- Moisture control: Maintaining the right moisture level in your furniture or building project is essential. A 30 to 50 percent relative humidity range will work well for the wood. High humidity can encourage rot and mold growth, while low humidity can cause splitting and cracking.
- Keep away from direct sunlight: Ultraviolet rays from the sun can damage the wood’s patina in a matter of days. Direct sunlight also fades the wood, making its color duller.
- Clean regularly: The best way to keep your reclaimed wood looking great is to clean it regularly. Use a barely damp microfiber cloth and wipe the surface gently. This removes dirt buildup, preventing damage to the patina.
Can You Stain Barnwood?
You can stain barnwood to make it waterproof and extend its longevity. If you want light-coloured barnwood, apply the stain and wipe it off. Otherwise, drench the wood and allow it to absorb the stain for a rich color.
Final Thoughts
Preserving and staining reclaimed wood demands patience, skill, and the right techniques.
As long as you choose the right stain and apply it correctly, your wood will remain beautiful for decades.
If you follow the steps discussed above, you can maintain your reclaimed wood’s beauty and charm, making it a great addition to any space.
Before you leave, check out these benefits of choosing non-toxic wood finishes.


