How to Build an Adobe Wall – Improve Your Garden Privacy

Are you looking for a pocket-friendly way to transform your garden into a private oasis? Well, look no further than an adobe wall.
Unlike plastic or metal-based fences, adobe walls provide an eco-friendly and cost-effective way to create an oasis of privacy around your garden. Now, do you know how to build an adobe wall?
Building an adobe wall starts by mixing sand, clay, straw, and water in the right proportions to make the bricks. The next step is building the foundation and then laying the bricks in courses while bonding them with mud-based mortar. Finally, apply a lime-based plaster to the walls for protection against the elements.
In the rest of this article, I’ll discuss how to build an adobe wall. From making the right mixture for adobe bricks to laying the bricks, this step-by-step guide will help you build a reliable adobe wall around your garden in no time.
So, let’s get started!
How to Prepare the Site for Building an Adobe Wall
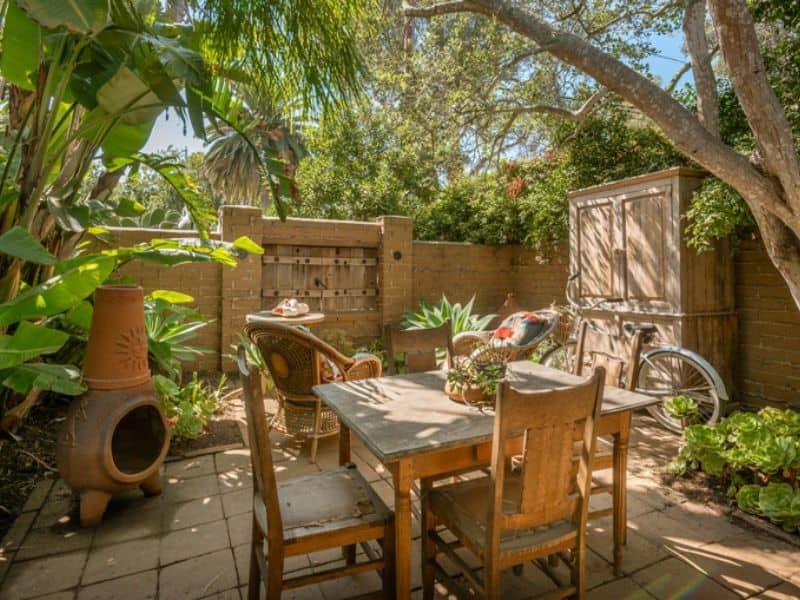
As with any construction work, you must ensure the site is well prepared and ready for the adobe wall.
Site preparation reduces the possibility of damage to your adobe wall. It also lowers the chances of encountering problems once the construction commences.
Here are tips to help you prepare the site for building an adobe wall:
- Site selection: First, you want a site that meets the necessary criteria for adobe building. It must have adequate sunlight exposure, excellent drainage, and ample space to sun-dry the bricks.
- Clearing and leveling: Clear the site of vegetation, debris, and rocks that can cause accidents during the trampling of the mixture. You should also level the site for even construction by removing bumps and filling the dips with sand or gravel.
- Marking: Mark the area where you want to build the adobe wall with stakes or string to avoid misalignments.
- Create drainage channels: Water is the worst enemy of adobe. Therefore, you want to divert rainwater from the wall for it to last longer. You can do this by installing French drains or swales approximately three feet (91 cm) from the wall.
How to Mix and Shape Adobe Bricks
Now that your site is ready, the next step is to mix and shape adobe bricks. This is an essential step as it determines the strength of your wall. Get it wrong, and you’ll end up with a weak wall that won’t stand the test of time.
Before we proceed to the step-by-step guide, you’ll need the following for this step:
- A hoe: For digging up the earth.
- Water: To moisten the ingredients when mixing.
- A tarp (about 5 ✕ 5 feet): For trampling and mixing the ingredients.
- A rake: For mixing the dry ingredients (sand, clay, and straw) on the tarp.
- Wheelbarrow: To transport the mixture to the forming and drying site.
- Sprinkler: To water the mixture for easy forming into adobe bricks.
- Wooden forms (made from 2 x 4 lumber): To shape the mixture into standard-sized adobe bricks.
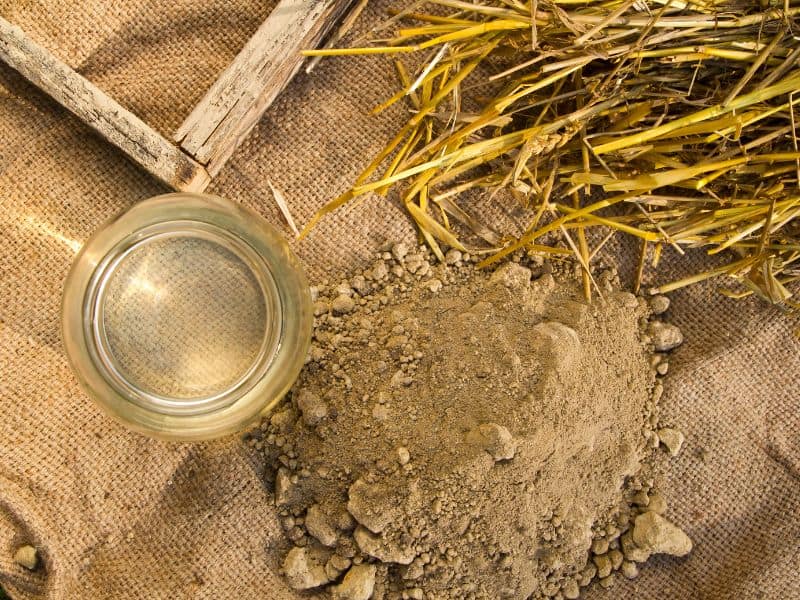
Step 1: Test the Soil for the Right Composition
Although you can source the soil for making adobe bricks from the site, getting the composition right is vital for long-lasting bricks.
The basic ingredients for making adobe bricks are clay, sand, straw, and water. However, getting the proportions right of clay and sand in the mix is essential.
In terms of percentages, the ideal soil should have between 50 and 60 percent sand and 35 to 45 percent clay and silt. This is where a mason jar test comes in handy to get these percentages right.
Procedure for Mason Jar Test
Materials:
- A marker pen.
- Clear mason jar.
- A ruler.
- A stopwatch.
- Mesh sieve.
- Powdered dishwashing detergent.
Procedure:
- Get some subsoil from the site and sieve it with a mesh sieve to remove debris, large organic matter, and stones.
- Fill ⅓ of the mason jar with the sieved soil.
- Fill the remaining space of the mason jar with clean water (leave a small space at the top).
- Add the powdered dishwashing detergent.
- Close the jar and shake thoroughly for a homogenous mixture.
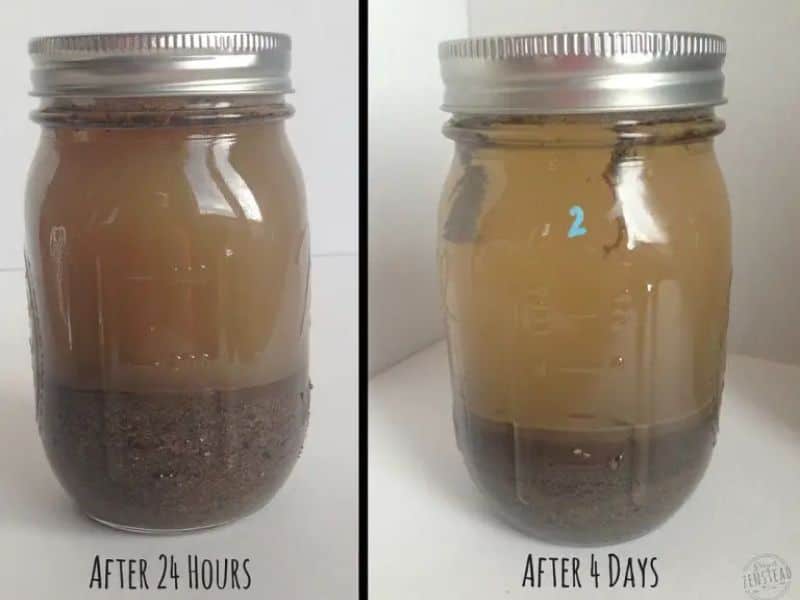
- Put the jar on a level surface and time it for one minute.
- Mark the coarse layer of sand at the bottom of the jar.
- Leave the jar in the same spot for about two hours.
- Mark the top of the second layer that forms. This second layer represents silt.
- Leave the mason jar with its components in the same spot for two days (48 hours).
- Mark the top of the third layer, which is now clay.
- Measure and record the height of each layer using a ruler.
- Measure and record the total height of the three layers.
Estimate the soil percentages using the formula below:
- Percentage of sand: (The height of sand / the total height) ✖ 100%.
- Percentage of silt: (The height of silt / the total height) ✖ 100%.
- Percentage of clay: (The height of clay / the total height) ✖ 100%.
If your site’s soil doesn’t match the required compositions, you can amend it with other materials. For instance, if the soil has insufficient sand, you can add some clean beach sand to bring it up to the required percentage.
Alternatively, consider buying soil from a garden center. However, this may be costly in the long run.
Step 2: Mix the Ingredients
Once you have the right soil proportions, the next step is to mix the ingredients to make adobe.
You have two options for mixing your ingredients:
- Excavate soil from the tested site, load it onto the wheelbarrow and transport it to a tarp at the mixing location. Sprinkle a couple of handfuls of straw on the dry ingredients for binding.
- Buy sand and clay from a garden center and mix them in a ratio of 25 to 30% clay, 65 to 70% sand, and 5 to 10% straw.
Once you have the materials on the tarp, mix them by pulling the edges toward the center (you can use a rake). Repeat this several times before spreading the tarp and sprinkling just enough water on the ingredients.
Start trampling the mixture with your feet while adding water until it’s lump-free and has a wet consistency. You can also use a mechanical mixer to speed up the process.
Stomp on the mixture while adding straw as needed. The goal is to mix the straw with the mud thoroughly.
Finally, lift the tarp from one side so the mud falls back onto itself — like kneading dough.
Step 3: Form and Dry the Bricks
Once you have a homogenous mixture, it’s time to shape the adobe bricks. Here’s how:
- Prepare the wooden forms: Sprinkle some water into the wooden forms to prevent the mud from sticking to the surface. This makes it easier to remove the bricks for drying.
- Fill the forms: Scoop some mud from the tarp and fill each form with enough mud to cover its surface. Push the mixture into the corners and punch it well for a solid block.
- Remove excess mud: After filling each form, use a trowel to remove the excess mud from the top and edges. However, it’s not advisable to make the surface overly smooth. You want the bricks to have a rough surface to grab the mortar efficiently.
- Remove the bricks from the form: Allow them to dry for about 15 minutes before turning the form upside down and lightly tapping their edges with a wooden mallet to remove the bricks.
- Lay out your bricks for drying: Lay the bricks on an inclined plane sprinkled with sand for drying. Sprinkling the drying area with sand prevents the bricks from binding with the surface. Leave the bricks to dry for at least three days before flipping them to dry on the other side. The bricks can dry in three to four weeks, depending on the weather.
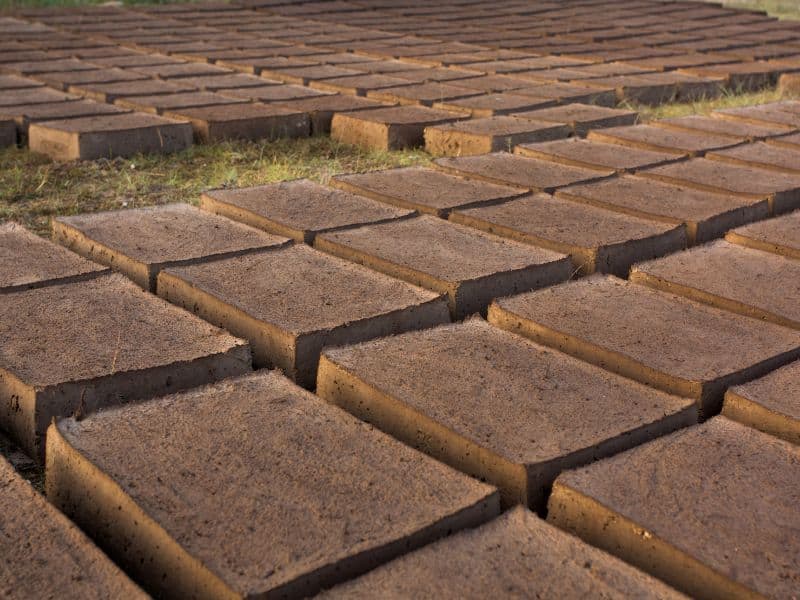
Expert advice: The longer your adobe bricks dry, the more durable and resistant they’ll become. Therefore, leave them to dry for more than four weeks if possible.
How to Lay Adobe Bricks to Create a Strong and Durable Wall
Once your adobe bricks have dried, it’s time to start building your adobe wall. Laying these bricks requires patience and precision for a strong and durable wall. Here’s a step-wise guide:
Build the Foundation
The foundation is essential for the stability of the wall. Moreover, it protects the wall from runoff that can weaken it.
To make the foundation, excavate a trench along the area you marked during the site preparation phase.
The foundation’s footing should be below the frost line in your area. This may mean excavating more than four feet (122 cm) below the grade.
The stem and footing walls for the foundation should be 14 and 24 inches (36 and 61 cm) thick, respectively.
Fill the trench partially with gravel or rubble before pouring concrete for additional strength and protection against water damage.
The concrete should extend at least 40 cm (16 inches) above the ground to form the top foundation that protects the bricks against water.
Lay the Adobe Bricks
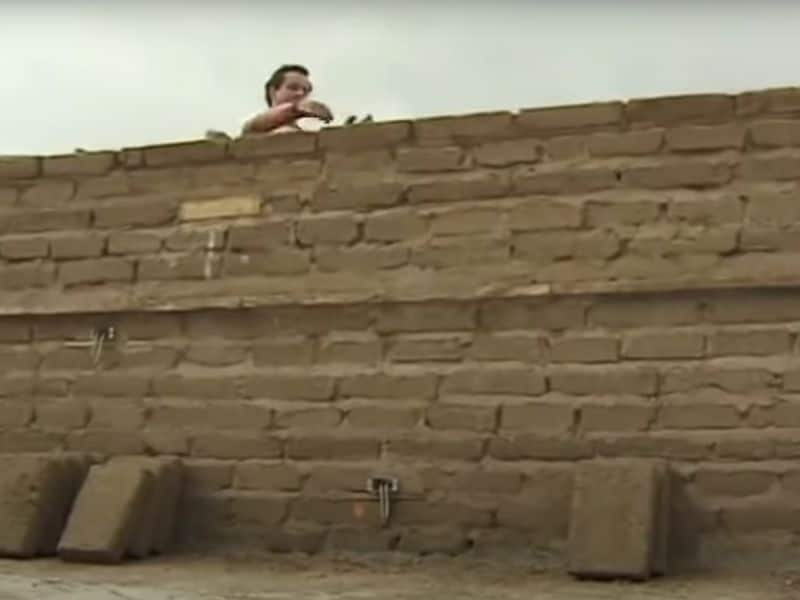
Apply mud-based mortar to the wall’s lowermost course and the bricks. Start laying the bricks on top of the foundation from the corners towards the center. Make sure to press the bricks lightly for bonding.
You can make the best mud-based mortar by mixing 24% clay, 62% sand, and 14% lime.
To lay out the next course, overlap the bricks by four inches (10 cm) from the first course.
An overlapping pattern creates a sturdy wall that’ll withstand the test of time. You should also use a construction level to check and ensure the bricks are level before proceeding to the next course.
It’s also recommended to add vertical and horizontal reinforcements, such as steel bars or wooden posts.
Continue laying the adobe bricks this way until your wall reaches its desired height.
Finally, cap the topmost course with a concrete-based bond beam to hold the wall together and protect it against rain.
Here is a video to guide you in building the wall:
How to Finish an Adobe Wall to Protect It From the Elements
It’s advisable to finish your wall because adobe is highly susceptible to destruction by the elements, especially water.
However, you must also note that adobe is permeable. Therefore, it must breathe to expel moisture. Thus, finishing the wall with impermeable plaster is a recipe for destruction.
There are two safe ways to finish your adobe wall:
- Mud plastering: Mix clay, sand, water, and chopped straw until you get a gooey sludge. Apply the mixture to the entire wall to form a protective layer between 6 and 25 mm (0.24 and 0.98 inches) thick.
- Lime plastering: Although prone to cracking, lime plaster is breathable and ideal for adobe walls.
Frequently Asked Questions
How Do You Build an Adobe Wall?
You can build an adobe wall by making the bricks, building the foundation, and laying the adobe bricks in courses to the desired height. The bricks should be held together by a mud-based mortar.
How High Can You Build Adobe Walls?

You can build adobe walls to a height ten times their base thickness. This is because these walls have an aspect ratio of 1/10.
How Long Do Adobe Walls Last?
Adobe walls last centuries if built and maintained properly. These walls must be protected from water to ensure longevity.
Adobe walls can last up to thirty years if not adequately cared for.
How Thick Do Adobe Walls Need to Be?
Adobe walls should be between 0.25 and 0.80 meters (9.84 and 31.50 inches) thick. The thickness depends on how thick each adobe brick is.
Most adobe bricks are 10 inches (0.25 m) thick.
How Do You Anchor an Adobe Wall?
You can anchor an adobe wall by drilling a hole into the wall and hammering the anchor in place through the hole. Finally, drill a screw within the anchor.
What Are the Pros and Cons of Adobe Walls?
The pros of adobe walls include the following:
- They are durable.
- They are fireproof.
- Are non-toxic.
- Are biodegradable.
The Cons of Adobe walls include:
- They’re susceptible to moisture damage.
- They’re labor-intensive.
- They’re poor insulators.
Final Thoughts On How to Build an Adobe Wall
Building an adobe wall will enhance your garden’s privacy while adding a touch of rustic charm and sustainability.
Two things are crucial when building an adobe wall — making your mixture with the right proportions of ingredients and finishing the walls with a permeable plaster for longevity.


