How to Build an Adobe House: 7-Step Guide For Success

With the cost of building materials rising, more and more homeowners are turning to adobe as their go-to building material.
Although labor intensive, with proper guidance and handholding, anyone with basic construction knowledge can try building one. But the process isn’t as simple as it looks, and it takes just one slip-up to ruin all your efforts. This is where a simple step-by-step guide can help.
To build an adobe house, select the ideal building site. Once it is selected, gather the building materials needed to complete the job. Now, work on laying the foundation and producing adobe bricks and mortar. Finally, lay the bricks and complete the framing work before finishing the walls and roof.
You need to know this basic outline, but there’s more to it. Each step has many sub-steps to finish the job perfectly.
This comprehensive guide on how to build an adobe house will give you exactly that. By the end of the process, you’ll have the dream adobe house you always wanted.
Step 1 – Selecting the Ideal Site
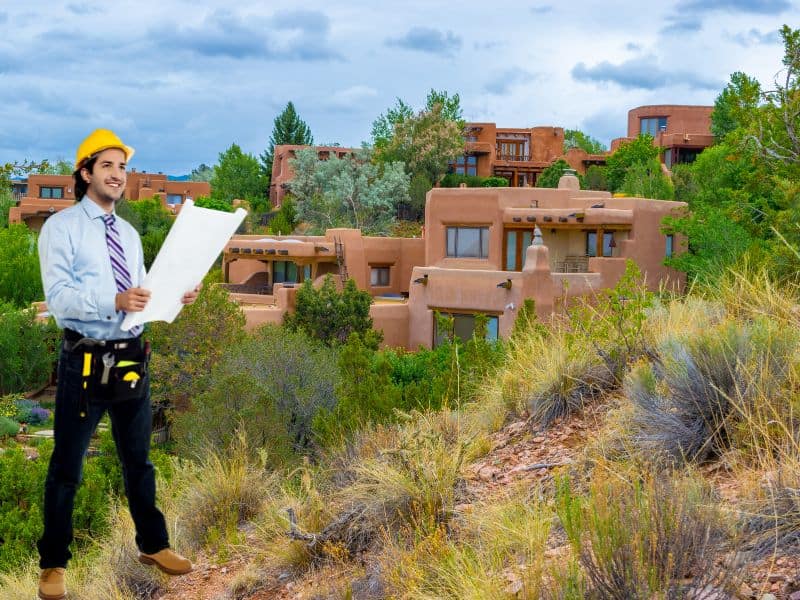
Various factors come into play when building an adobe house:
Topography
The land’s slope and elevation are crucial factors to consider when choosing the right location for your adobe house. Pay attention to the following:
- Gentle Slope: Always choose a site with a gentle slope. This allows for proper drainage and prevents water from pooling around the foundation. A gentle grade of about 10% or less is ideal to build on.
- Elevation: You need to ensure that the site you’re building on is not in a flood-prone or low-lying land area susceptible to flooding.
Soil Type
When building an adobe house, conducting a soil test is crucial to determine the suitability of the soil for adobe construction. Tests like clay content, particle size analysis, moisture content test, and more can tell you the soil conditions you plan to build on.
Your engineer or architect can guide you in the right direction to ensure you build a structurally sound house.
Climate
The location’s climate plays an essential role in the durability and comfort of your adobe house.
Consider these factors:
- Temperature: Adobe houses perform best in regions with hot and dry climates. In colder climates, additional insulation may be necessary.
- Humidity: High humidity can speed up the deterioration of the structure, so choose a location with low to moderate humidity levels.
Local Building Codes
Complying with local building codes is essential for the safety and legality of your adobe house.
Consider these factors:
- Permits: Obtain all necessary permits and approvals before beginning construction.
- Setbacks: To maintain a safe distance from property lines and other structures, adhere to local setback requirements.
- Inspections: Schedule an inspection by local authorities to ensure compliance with safety standards and building codes.
By following this checklist, you’ll be well on your way to selecting the ideal site. Remember to consult with professionals to ensure the success and safety of your project.
Step 2 – Gathering the Materials Needed for an Adobe House
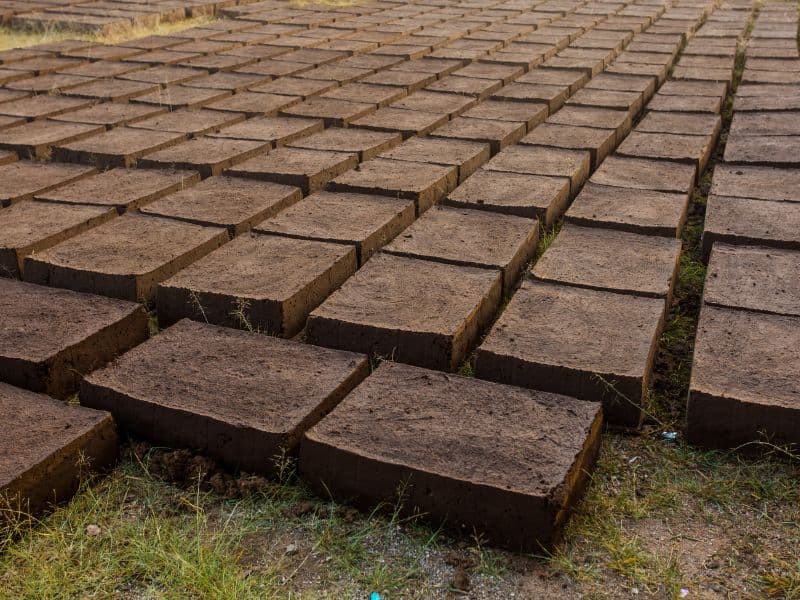
Below is a comprehensive list of the building materials needed to construct an adobe house:
Adobe Bricks
- Type: Stabilized adobe bricks (made from a mix of clay, sand, straw, and a stabilizer (optional) like cement, lime, or cow dung.
- Quantity: Approximately 4,000 to 8,000 bricks (depending on the house size).
Adobe Mud
- Type: Earthen plaster.
- Quantity: Approx. 6-8 cubic yards.
Window Frames
- Type: Wooden window frames.
- Quantity: 8-12 frames (depending on the number and size of windows).
Wooden Beams
- Type: Reclaimed wood or sustainably harvested timber beams.
- Quantity: 20-30 beams (depending on the size and design of the house).
Door Frames
- Type: Wood or metal door frames.
- Quantity: 2-4 door frames (as needed).
Roof Tiles
- Type: Clay, Concrete, or metal roof tiles.
- Quantity: 10-11 tiles per square meter.
Foundation Materials
- Type: Concrete.
- Quantity: Approximately 30-40 cubic yards.
Insulation Materials
- Type: Fiberglass insulation.
- Quantity: Sufficient amount to cover the target area.
Additional Materials
- Reinforcing bars (rebars) for structural support.
- Concrete Blocks (As needed).
- Rafter, rafter tie beams.
- Wooden lintels.
- Vapor barrier for the foundation.
- Paint & Sealants.
- Electrical wiring, Plumbing materials, and fixtures.
Remember that the quantities are estimates and may vary depending on your house’s size, design, and location. Consult a professional architect to determine the exact quantities required for your project.
Step 3 – Preparing the Foundation
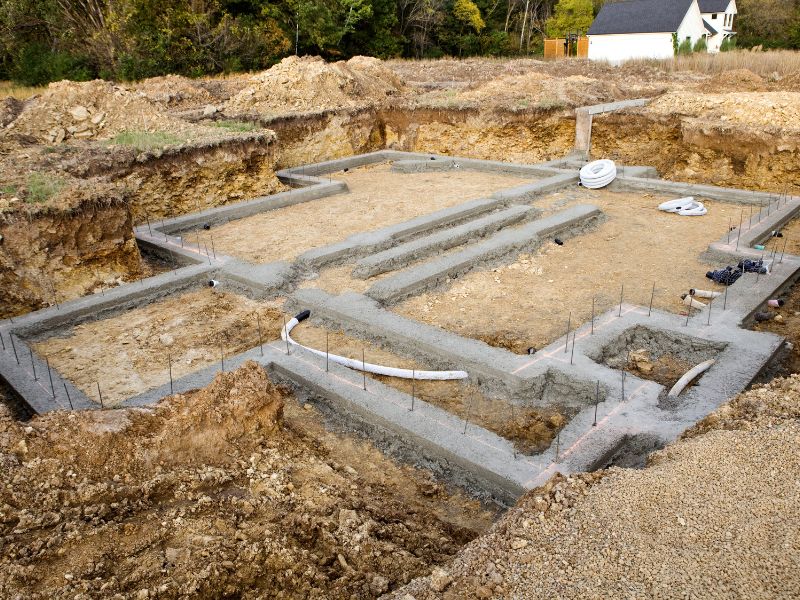
Prepare the Ground
The first step to a solid foundation is preparing the ground. This involves:
- Site Excavation: Clear and level the construction site, removing vegetation and debris.
- Soil Compaction: Compact the soil to create a firm base for the foundation. This prevents settling and ensures the soil can support the weight of the house.
Construct the Footing
An oversized footing is ideal for an adobe house. To construct a footing:
- Dig Trenches: Excavate trenches around the perimeter of the house. Follow the dimensions specified in your architectural plans.
- Install rebars: Place rebars in the trenches to strengthen the footing.
- Pour Concrete: Fill the trenches with concrete, ensuring it is evenly distributed and leveled. Allow it to cure completely before moving to the next step.
Construct a Solid Concrete Stem Wall
A solid concrete stem wall is needed to add durability and helps to distribute the load evenly. To construct a concrete stem wall:
- Place Concrete Blocks: Once the concrete in the trenches is cured, place concrete blocks on them. Use mortar to keep all the blocks in place.
- Install Rebar: Place rebars inside the blocks to reinforce the stem wall.
- Pour Concrete: Fill the hollow blocks with concrete, ensuring it is evenly distributed and leveled. Allow the concrete to cure completely.
Pour the Slab
Pouring a concrete slab involves several critical steps to ensure a good-level surface:
- Place Gravel: Add a layer of gravel over the compacted soil.
- Install Plumbing and Radiant Floor Heating: Lay out the plumbing and radiant floor heating systems before pouring the slab. Plumbing lines can be installed first, and the latter can be installed after placing the rebars.
- Install Rebar: To reinforce the slab, place the rebars in a grid-like pattern.
- Pour Concrete: Pour the concrete mix evenly across the entire area. Ensure you don’t leave any air pockets, and use a screed to level the entire surface.
- Let it cure: Allow the slab to cure before proceeding with the house construction.
Note – Vapor barriers and capillary breaks can be added if needed. Check your local building regulations to see whether they are required in your area.
Step 4 – Make Adobe Bricks
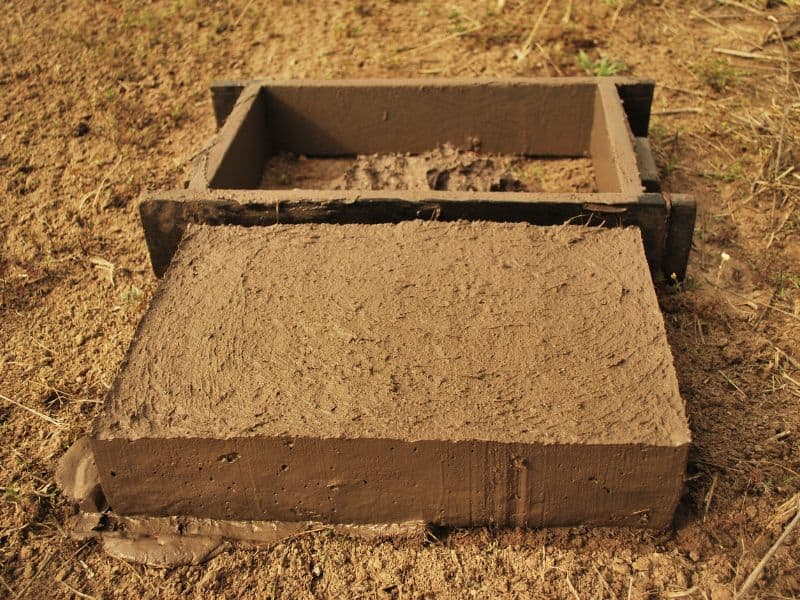
Follow these steps to create adobe bricks for your home:
Mixing Adobe Mud
To make adobe bricks, you’ll need:
- Clay
- Sand
- Water
- Straw or some other fibrous material
Steps to Mix Adobe Mud:
- Prepare the soil: Remove any large pebbles or debris from the soil. Use a soil sieve to ensure a consistent texture.
- Add straw to water: Take a large trough and mix straw in water.
- Add Clay and Sand: Introduce clay first, then sand in a 70:30 ratio, and mix thoroughly.
Shaping Adobe Bricks
To shape your bricks, you’ll need the following:
- Wooden forms (measuring 12” x 18”).
- Trowel/Putty knife.
Steps to Shape Adobe Bricks
- Prepare the Forms: Lightly wet the inside of the forms to prevent the finished adobe bricks from sticking to the forms.
- Fill out the Forms: Scoop the adobe mix into the forms. Press it firmly into the corners and remove any air pockets. Fill the forms to the top.
- Level the Brick: Use a trowel to level the top, removing excess mixture.
Drying Adobe Bricks
- Remove the Forms: Carefully lift the frames after 24 hrs, leaving them on a flat surface to dry.
- Let the Bricks Dry: Allow the bricks to air-dry on a flat surface for at least a week. Turn them over occasionally to ensure even drying.
- Curing the Bricks: After the initial drying period, stack the bricks with gaps between them and allow them to sit for further curing.
Step 5 – Build the Walls
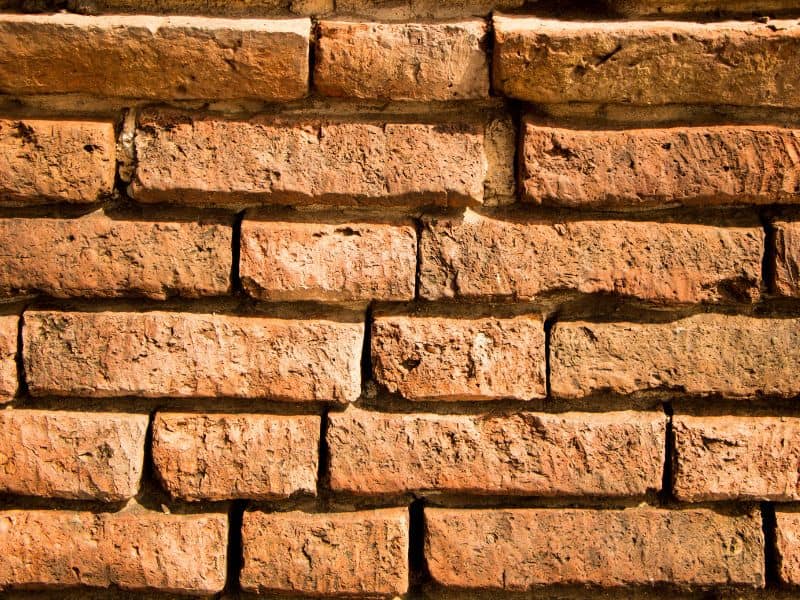
Framing the Walls
Before laying the bricks, you need to frame your walls. This involves setting up corner posts, door frames, and string lines to ensure straight, even walls.
Corner Posts and Door Frames
- Measure and Mark: Measure the wall dimensions and mark the locations for corner posts and door frames.
- Install Posts: Place the corner and door frame posts.
- Attach Door Frames: Install door frames between the door posts. Make sure they are level and square.
String lines
- Set up String Lines: Attach the string lines from one corner post to another at the height of each course of bricks. These lines will assist you as you lay the bricks, ensuring straight, level walls.
- Adjust the Lines: As you complete each row of bricks, move the lines to the next course’s height.
Laying Adobe Bricks
Steps to lay bricks:
- Start At the Corners: Begin laying bricks at the corner posts, using string lines to guide alignment.
- Apply Mortar: Spread a thick layer of mortar on each brick.
- Lay the Brick: Place bricks on the mortar, pressing them firmly into place and removing excess mortar from the joints.
- Check Alignment: Use a spirit level to ensure each course of bricks is aligned.
Installing Door and Windows
Once the walls are complete, it’s time to install doors and windows. Gringo blocks can be made easily with blocks of wood, and these will help you attach doors and window boxes effectively.
Steps to Install Doors and Windows:
- Select Gringo Blocks: Choose gringo blocks that match the size and overall shape of your door and window openings.
- Install the Blocks: Lay the blocks within the wall system where you want to attach the door and window frames.
- Attach the Frames: Secure door and window boxes to the blocks using screws.
- Install Doors and Windows: Place doors and windows into their boxes, ensuring a proper fit.
Step 6 – Building the Roof
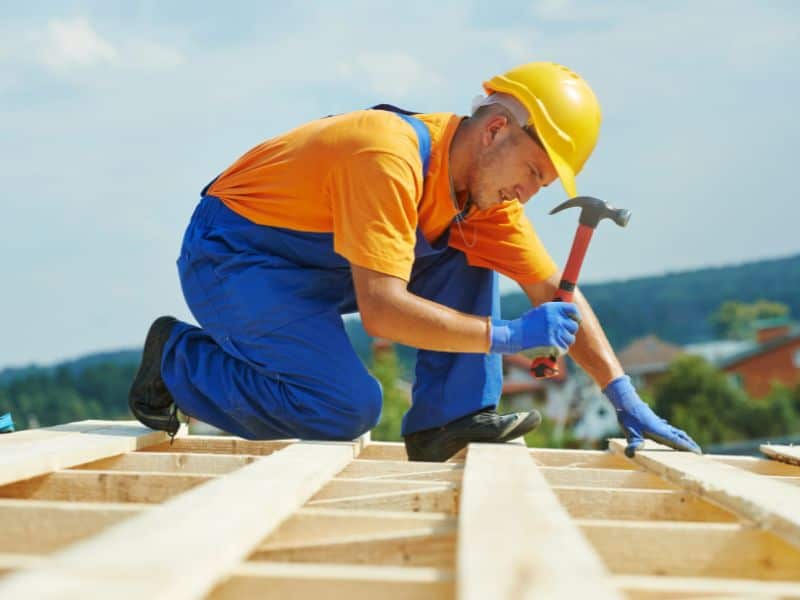
Flat roofs are a simple and cost-effective solution for adobe houses. They provide an effective and functional solution that complements the traditional design of such homes. I will provide all the steps involved in the making of a flat roof:
Design and Planning
Before constructing the roof, you must determine the right size, layout, and structural support requirements for your flat roof. Consult an architect to ensure your design complies with local building codes and regulations.
Building the Roof Structure
Construct the roof structure using wooden beams, rafters, or joists, depending on your walls’ design and load-bearing capacity. These structural elements should be fastened to the walls and adequately spaced. Note that the roof structure will not be completely flat. This ensures that water gets drained and is not collected on the roof.
- Wooden Beams: Large wooden beams can serve as the primary support structure for the flat roof. They should be placed directly on the top of your walls, spanning the width of the house.
- Rafters or Joists: Smaller wooden rafters or joists can be installed perpendicular to the beams at regular intervals, about 16-24 inches apart. These will provide the support needed for the next step of roof decking.
Install the Roof Decking
Once the supporting structures are in place, attach plywood or OSB sheets to the rafters to form the roof decking. This decking will also serve as the base layer on which insulation materials will be placed.
Waterproofing and Insulation
Install a waterproof membrane on the top of the roof decking to protect the roof structure and adobe walls from water damage. This layer should cover the entire roof surface and extend slightly over the roof’s edges.
Now, apply the insulation materials of your choice. Rigid foam boards or even fiberglass insulation are used in such cases. This insulation step is crucial in maintaining your house’s energy efficiency and will help regulate temperature and reduce heat transfer through the roof.
Completing the Roof
OSB sheets can again be used as a roof finish for a more modern and streamlined appearance. OSB sheets are durable, water-resistant, and easily installed on top of the insulation layer.
It is essential to note that the sheet thickness will be 60% of the original size used for the decking. To further protect and improve the sheets, apply a waterproof membrane, coating, or paint them in a suitable color using waterproof paint.
Adobe mud plaster can also be used to give a final finishing touch.
Finally, review the minor details, like incorporating a drainage system such as scuppers or gutters to direct water away.
Step 7 – Finishing Touches
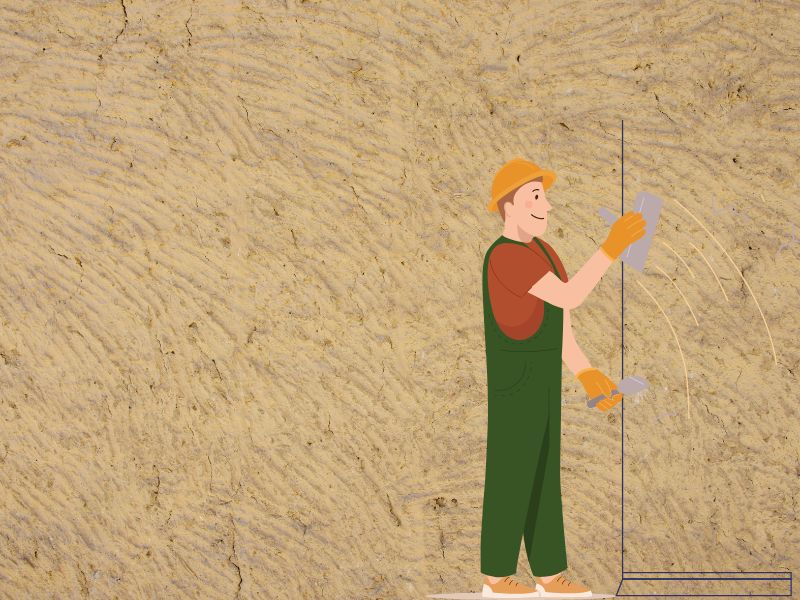
Plastering Adobe Walls
- Select adobe mortar for plastering purposes. This mortar is made the same way you made the bricks but is a bit wetter.
- Before plastering, clean the wall surface to remove any loose material. This ensures proper adhesion of the plaster.
- Monitor humidity and temperature levels during the plastering process. High humidity can slow drying, while extreme heat may cause premature cracking.
- Apply the plaster in thin, even layers to avoid cracking. Use a trowel to level the plaster as you work.
- Allow each layer of plaster to dry completely before applying the next layer. This prevents moisture buildup and ensures a strong bond between layers.
Complete the Floors with Tiles or Polished Concrete
For tiling, there are several options to choose from:
- Terracotta Tiles
Terracotta offers a warm, earthy appearance that complements adobe walls. They are also durable, low-maintenance, and naturally insulating. You will need a thinset mortar for the installation of such tiles.
- Saltillo Tiles
These are handmade clay tiles with a rustic charm. Their natural color variations and unique texture make them an excellent choice for adobe homes.
- Polished Concrete
Polished concrete floors provide a modern, industrial look while offering durability and low maintenance. They can also be colored or painted to match your desired aesthetic.
The Timeline for Building an Adobe House
Constructing an adobe house involves several stages, each with its unique considerations. On average, an adobe house can take several weeks to months. The timeline can depend on various factors, including the size of the adobe house, the availability of resources, and the skill level of the builders.
Tips for Successful Adobe Production
To ensure a successful construction process, follow these informative and straightforward tips:
- Choose the right location: Select a suitable location with good access to natural resources, such as clay and water, and proper drainage to avoid water-related issues.
- Plan carefully: Working with an experienced architect is a good idea. Take help and create a detailed design plan that adheres to local building codes and regulations. Also, consider factors like climate, energy efficiency, and functionality.
- Use high-quality materials: Using substandard materials just doesn’t cut it. You may save some costs upfront, but it will hurt you in the long run.
- Monitor the drying process: Pay close attention to the drying period. Allowing bricks to dry and cure properly ensures that your bricks don’t crack prematurely.
- Prioritize insulation and ventilation: Ensure proper insulation and ventilation in your adobe house to maintain indoor comfort and energy efficiency.
- Perform regular quality control checks: Conduct regular inspections throughout construction to ensure adherence to design specifications and safety standards.
- Seek professional advice: Consult with professionals during each stage of construction, from planning to final inspection. This ensures the best outcome for your adobe house.
FAQS

Can you build your own Adobe house?
You can build your own adobe house with the necessary skills, knowledge, and resources. However, I recommend consulting with experienced professionals such as architects, engineers, and builders to ensure a safe, durable structure that meets local building codes.
What is the best foundation for an Adobe house?
The best foundation for an adobe house depends on soil type, climate, and local building codes. A common choice is a shallow, reinforced oversized footing. Proper drainage and waterproofing measures protect the foundation from moisture damage.
How thick are the walls in an Adobe home?
The thickness of adobe walls varies depending on the design, structural requirements, and insulation needs. But according to the International Building Code, the minimum thickness should be at least 10 inches.
This thickness can go all the way up to 24 inches in some cases. Thicker walls are generally better as they provide better insulation and thermal mass, which helps to maintain a comfortable indoor temperature.
How long do Adobe houses last?
Adobe houses can last for centuries if maintained properly. Factors that affect longevity include the quality of materials used and protection from harsh weather conditions.
Regular maintenance also plays a huge role. Maintenance work like additional plastering, regular slurry washing, and addressing timely moisture issues is key to prolonging the lifespan of an adobe house.
How to Build an Adobe House – Final Takeaways
As you can see, the steps above will get you closer to building the dream adobe house you always wanted.
To summarize, you need first to plan and build the foundation. Once that is done, you must turn to adobe brick production and install frames for doors and windows.
Laying the bricks is next, and you will complete the job by installing the roof, followed by some finishing touches.


