How to Build an Adobe Fireplace – 8 Steps To A Perfect Fire

Imagine the rustic allure of an adobe fireplace in the corner of your living room — a centerpiece that evokes a sense of ancient tradition while warming the house.
While adobe fireplaces have been at the center of human gatherings for centuries, building one can be daunting, especially if it’s your first time. However, we’re here to hold your hand and show you how to build an adobe fireplace you will be proud of.
Adobe bricks are ideal for fireplaces because they’re 100% fireproof. However, building an adobe fireplace is not just a matter of piling up these bricks.
Adobe fireplace plans suggest laying out the hearth and the footing for the foundation, allowing the chimney and the firebox to be built upon a solid foundation. These features require expertise and careful attention to detail for a cozy and welcoming fireplace that ensures your fire burns well and smoke is directed up the chimney effectively.
In the rest of this article, I’ll discuss how to build an adobe fireplace in detail. This step-by-step guide will cover the materials needed and how to design an aesthetically pleasing and functional fireplace. Let’s get started!
The History and Significance of Adobe Fireplaces
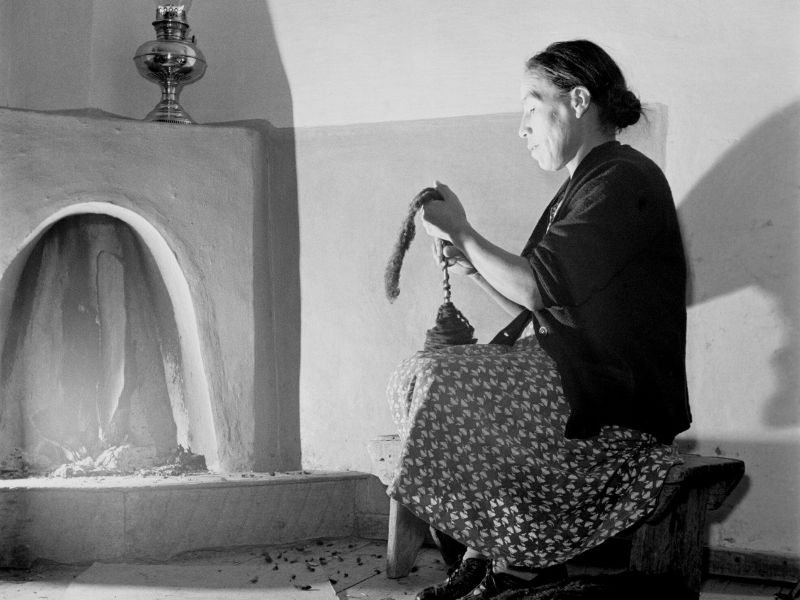
Adobe fireplaces, also known as Kiva fireplaces, have a long history that dates back to the Pueblo Indians.
“Kiva” is a spiritual term used by the Pueblo people in the ancient era to refer to a large and circular underground room used for spiritual ceremonies.
Kivas formed an essential part of Pueblo heritage as they were sacred places where the community could come together to strengthen their bonds.
The adoption of the term “Kiva” to refer to adobe fireplaces was due to the unique design of these fireplaces.
Historically, adobe fireplaces were designed in a rounded form to fit into a corner of the house. The rounded form was similar to the spiritual meeting places of the Pueblo people.
The Kiva design was later adopted by the Spanish, who’re credited for coining the term “adobe.” In Spanish, “adobe” refers to mud bricks for building and making traditional Kivas.
Today, Kiva fireplaces are common in the Southwestern United States as part of the Santa Fe Style.
Adobe fireplaces are significant for their aesthetics and functionality. They’re also a reminder of the ancient Pueblo tradition.
Parts of an Adobe Fireplace
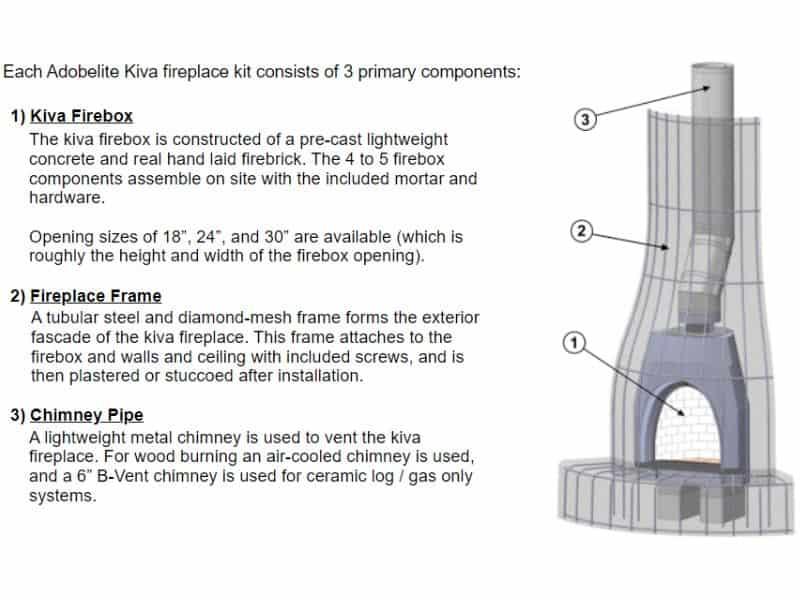
Before diving into building an adobe fireplace, let’s familiarize ourselves with its individual parts.
Most adobe fireplace ideas feature the following crucial parts:
- A hearth: This is the floor area in front of the fireplace that catches sparks and pieces of burning fuel that could roll out of the fire to prevent damage to the floor. The inner hearth refers to the part of the fireplace immediately in front of where the fire burns and is sometimes used to refer to the base of the firebox.
- The firebox: This is the inner part of the fireplace. It’s where the fire will be lit and burning wood or coal put on.
- The chimney: This directs smoke out of the house for safe discharge to the atmosphere.
- Lintel: The lintel is the beam that forms a bridge between the firebox and the outer hearth.
The Materials Needed to Build an Adobe Fireplace
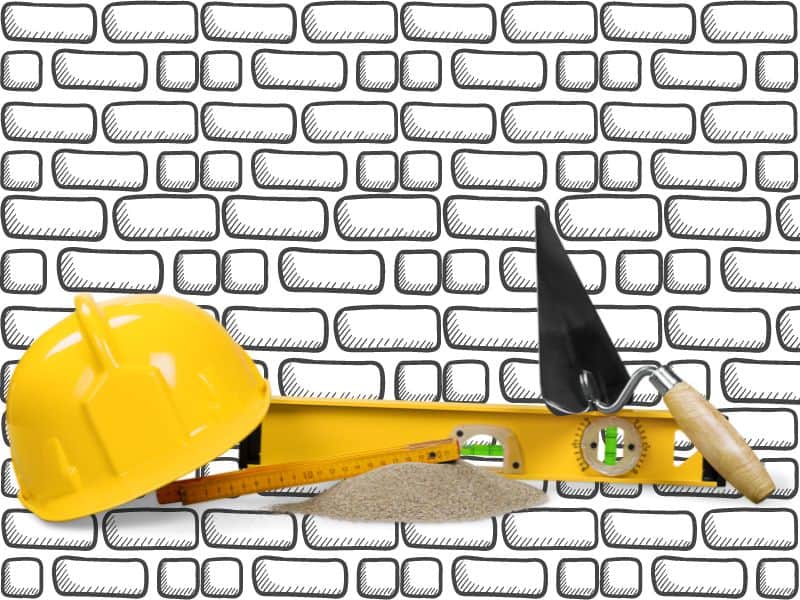
You need the following materials and tools to build an adobe fireplace:
- Adobe bricks.
- A chalk line for marking the layout.
- Sand to make concrete.
- A measuring tape.
- Plumbline to keep the front edges of the side walls on track.
- Fireproof mortar mix.
- Steel frame glass door.
- Metal wedges for securing plumb lines.
- Steel lath.
- Masonry trowel.
- Air intake vent.
- Cement.
- A construction level.
How to Design a Functional and Aesthetically Pleasing Adobe Fireplace
Designing a functional and aesthetically pleasing adobe fireplace doesn’t have to be intimidating. Here are the steps to design and build an adobe fireplace:
Step 1: Choose and Measure the Space
You should choose an appropriate space to erect the adobe fireplace.
Most people prefer building adobe fireplaces at the corner of their living rooms in line with the ancient Kiva architecture.
When it comes to measurement, most fireplaces are between 24 and 72 inches (61 and 183 cm) wide. More often than not, the width dictates the size of the firebox and is determined by the size of the room. The larger the room, the wider the firebox.
The fireplace opening is between 12 and 36 inches (30 and 91 cm) wide. These measurements are crucial; you must first set them in the hearth when starting.
Step 2: Prepare the Foundation and the Hearth
Since we’re building our adobe fireplace indoors, digging the footing is unnecessary. We shall use concrete slab for our foundation and the hearth.
Based on your measurements, mix sufficient concrete for a 12-inch (30 cm) slab to form the base and the hearth. You want a thicker base slab to hold the weight of the adobe bricks. It also prevents heat from damaging your flooring.
Before you mix the concrete, mark out the fill line for the top of the slab around your preferred location. You can use pieces of reclaimed wood to create the outline of the fill line. Finally, create an 8-inch (20 cm) surround with adobe bricks around the outline.
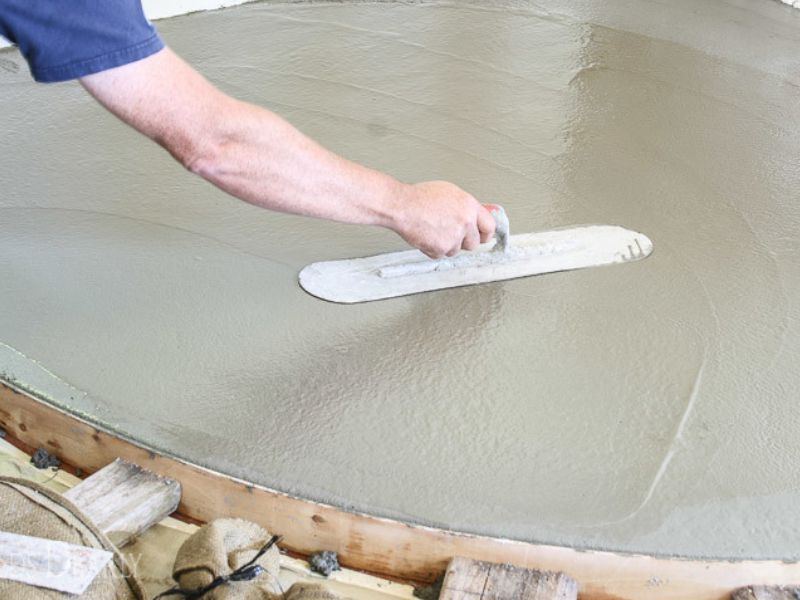
After mixing, pour sufficient concrete into the marked area, smooth it with a wood float or trowel, and set the rebar with a steel lath.
Before the concrete goes off (cures), trowel ridges onto the surface to make bonding with the next layer easier.
Allow the slab to set for 24 hours.
Step 3: Create a Base Layout
A base layout is essential for the fireplace since it determines its appearance.
Mark the front face of the adobe fireplace by snapping a chalk line on the slab.
Since our fireplace will have a 42-inch (107 cm) opening, draw a centerline and measure 21 inches (53 cm) on either side.
Draw a line along the back to establish a 20-inch (51 cm) depth for the firebox.
Step 4: Start Laying the Adobe Bricks for the Base
Start laying the adobe bricks from the centerline and work towards the 8-inch (20 cm) surround. Use a level to position each brick before laying the next.
It’s worth mentioning that these bricks require utmost alignment since they’ll be under intense heat and temperatures. Therefore, it’s recommended to bond them with refractory mortar.
Ensure all bricks are set into position by tapping them with a masonry hammer. Repeat the process until the interior part of the hearth is covered with adobe bricks.
Step 5: Build the Firebox
Start by placing the fireplace opening with a steel-framed glass door along the outline.
Lay adobe bricks on the edge using the glass door frame as a template for direction and sizing.
While laying the bricks, ensure they form the covings’ front edge and proceed to the door frame’s interior back edge.
Remember to use refractory mortar between the bricks since the firebox will also be under intense heat.
Build the firebox to a depth of at least 16 inches (41 cm).
Use a brick pre-cut at 45 degrees for buttering into the back. Trim the brick to fit into the space before buttering and installing.
Remember, the bricks that butt into the back must be cut to the appropriate shape as the walls get higher. Therefore, you’ll have to cut them based on the available spaces at the back.
Drop a plumbline to ensure the front edges of the wall are on track.
Finally, ensure the brick faces are formed correctly at the back of the firebox and encapsulate the vent pipe.
Step 6: Build the Throat
The throat is the point where the firebox and the chimney intersect.
Build the top part of the firebox in a converging shape to create a deep throat section at least 300 mm (12 inches). This means you’ll keep cutting the bricks as the space gets smaller.
Alternatively, you can buy ready-made throats for easy integration.
Step 7: Install the Chimney and Build the Back Wall
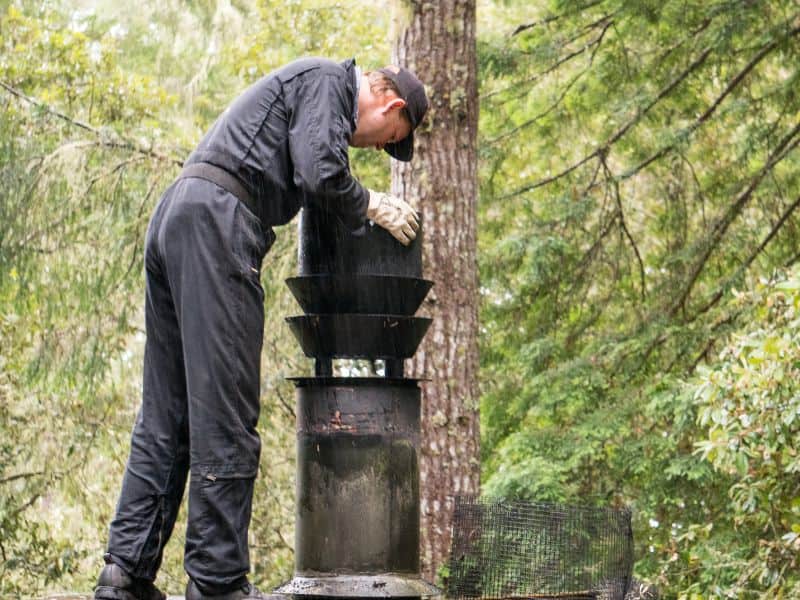
Precast metal chimneys are ideal for adobe fireplaces because:
- They’re more heat and thermal stress resistant than their traditional masonry counterparts.
- They can be easily integrated into the adobe bricks.
- They provide efficient ventilation due to their smooth inner walls.
When buying a precast metal chimney for your adobe brick, ensure it’s at least four inches (10 cm) larger than its surrounding flue to prevent smoke from returning into the house.
Moreover, building codes dictate that chimneys must be two feet (61 cm) higher than any part of the roof.
Once you have the chimney, attach it to the throat and fasten it using screws and brackets based on the manufacturer’s instructions.
Finally, seal the joint with adobe bricks while building the back wall.
As for the back wall, arc the bricks inwards gradually to intersect the damper at the top.
An easier way to arc your adobe bricks for the back walls is to back-butter them to the back edge to raise their sides. You can also add extra mortar to pitch the bricks.
Step 8: Install the Lintel
After attaining the desired height for the fireplace, install the lintel in a refractory mortar.
Ensure the lintel is aligned with the front edge of the fireplace opening.
It’s worth noting that the rate at which the lintel expands and contracts differs from that of bricks, so ensure you have an appropriate expansion joint between the lintel and the bricks. This protects the bricks from cracking due to differences in expansion and contraction.
Finally, you can render your adobe fireplace with stucco to give it an aesthetically pleasing and rustic appearance.
How to Maintain an Adobe Fireplace
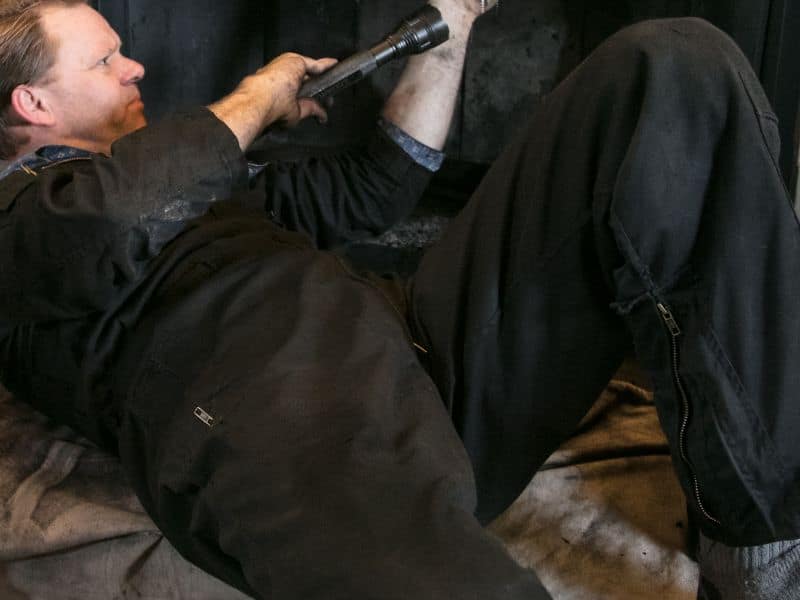
Maintaining your adobe fireplace is crucial for its longevity. Here are some ways to maintain an adobe fireplace:
- Regular cleaning: Remove the ash and debris from the firebox regularly. Clean the bottom of the flue with a wire brush to prevent soot accumulation in the chimney.
- Moisture control: Since moisture is the worst enemy of adobe, ensure sufficient ventilation around the fireplace to keep moisture at bay. You can do so by opening windows regularly to ensure free air circulation.
- Apply a protective coating: Apply a breathable coating on the fireplace to ensure longevity. A lime wash is a suitable option.
- Adhere to safe burning practices: Use dry and seasoned wood in your fireplace to minimize smoke and soot buildup. Moreover, avoid burning materials that can cause excessive sparks or heat.
- Regular inspection and repairs: Inspect the fireplace regularly for cracks or damage and repair them promptly using adobe patching materials or a breathable sealant.
Final Thoughts On How to Build an Adobe Fireplace
Building an adobe fireplace is a practical way to bring warmth and coziness to your space.
For longevity, ensure your fireplace has a sturdy hearth and is protected from excessive moisture.
Moreover, remember to regularly remove soot from the chimney for efficient smoke extraction.


