How to Build a Cob House: Simple 8 Step Guide to Modern Cob

Building a cob house requires attention to detail like any other construction project.
Unfortunately, since finding cob house building plans is not a walk in the park, it can be challenging to start without prior knowledge. That’s why we’re here to show you how to build a cob house.
Getting the cob mix right is the most important element of cob construction. Cob mix is a combination of clay, sand, silt, and straw that must be mixed in the right ratio for strength and durability.
Once you have the right mixture, create a monolithic cob wall for a durable, long-lasting house.
In the rest of this article, I’ll take you through a step-by-step guide on how to make your own cob house. From site preparation and mixing the cob to dappling and finishing touches, this is the right way to approach cob building.
Let’s dive right in!
Step 1: Getting Started
Building a house is not like putting together a jigsaw puzzle. You need the right tools and materials, and you must choose the right location and have an appropriate design for the house.
Choose the Right Location

Let’s face it; cob houses are highly susceptible to water damage because they’re made from natural materials. As such, you’ll need to choose a suitable spot that’s not exposed to too much water.
A rule of thumb is to go for a spot on a slight gradient. This way, rainwater will drain away from the building’s foundation.
Moreover, the location should be well-drained to prevent the cob from becoming soggy.
You’ll also need to account for sun and wind patterns in your area.
With a thermal energy storage capacity of 1205 J kg−1K−1, a cob house is best situated in a spot with plenty of sunlight. This way, the house will receive and store the sun’s heat energy during the day and release it at night to help maintain a comfortable temperature.
The site should also be protected from strong winds.
Design the Cob House

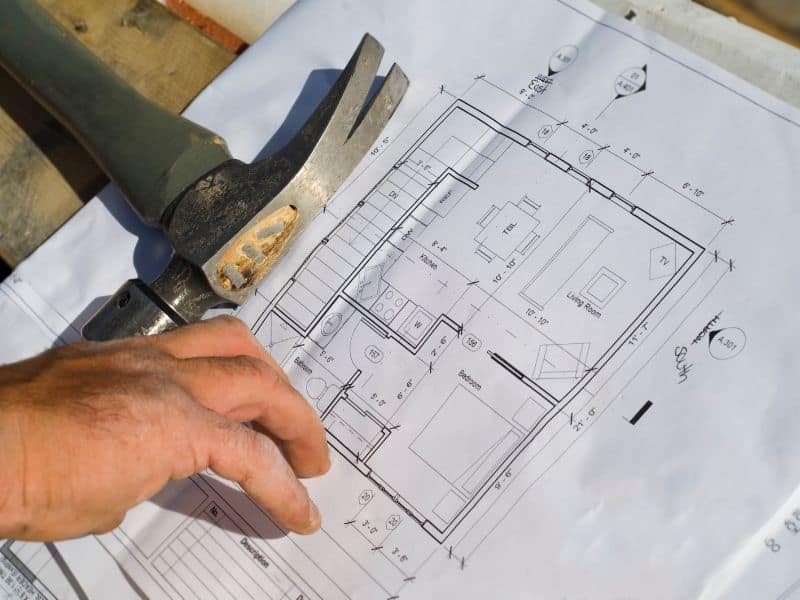
Before proceeding to the construction process, getting the design right is important. You should consider size, shape, insulation requirements, and budget.
Enlisting the help of an architect who specializes in cob building is a good idea to help you get a house that ticks all the right boxes.
Get the Right Tools and Materials
Cob is the primary material for this project. We shall look at how to prepare it in the mixing step.
Besides the material itself, you’ll need the following tools:
- A wheelbarrow
- Wooden thwacker
- Spades
- Forks
- Shovels
- Safety gear like boots, overalls, and masks
Step 2: Site Preparation
Once the plan and tools are in place, start preparing the site for the house.
Start by clearing the land of trees, plants, and weeds.
Once you have a bare patch of earth, remove any large stones and dig out all the stumps. This way, the cob won’t be mixed with these materials during construction.
Use a thwacker to compress the land and fill soft areas that can sink in later.
Moreover, you should check for drainage and add gravel if needed on the site. Spread the gravel evenly to make the cob stable when compacted.
Finally, level the area with sand for an even, flat surface.
Step 3: Laying the Foundation

The foundation of your house is important because, besides providing structural support, it keeps moisture away from the cob walls.
So, what is the best foundation for a cob house?
Equally spaced concrete blocks make the best foundation for a cob house as they prevent water uptake through capillary action.
You should create a continuous foundation wall that follows the house’s perimeter, then fill in any gaps with mortar.
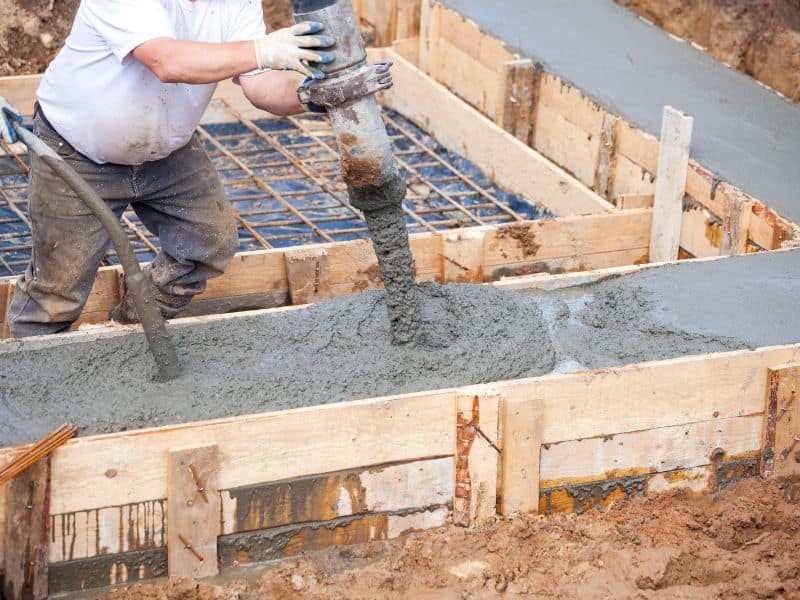
You can also use a poured concrete foundation, which is the more traditional option. This involves digging up the site and pouring a concrete base at least 12 inches (30.48 cm) deep.
It’s essential to consider water flow when building the foundation. Ensure the water drains away from the house site.
Moreover, any water that comes to the house site should drain as quickly as possible. You can install swales and French drains for this.
Step 4: Mixing Cob
This is the most important step; get it right, and your cob house will last ages.
Cob is a combination of clay, sand, straw, and silt. However, it’s not just a matter of throwing all these ingredients together – the proportions matter a lot.
Before we proceed to the proportions, it’s worth mentioning that topsoil (the upper soil layer) is not recommended for cob building.
Topsoil has the highest concentration of organic matter and microorganisms. Therefore, it can create voids within the walls when these components decay. Remember, you want the wall to be monolithic for longevity.
Subsoil is preferred because it has little organic material and microorganisms. It also has the appropriate clay-rich soil for cob construction.
To access the subsoil, dig a point at the construction site to a depth between 24 and 36 inches (60.96 and 91.44 cm). A change in the soil’s color will confirm when you’ve reached the subsoil layer.
While topsoil is dark due to its high humus content, subsoil has a lighter hue.
Soil Proportions
Once you have your subsoil ready, it’s time to ensure it has the right proportions of clay, sand, and silt.
Here’s a rule of thumb; for every one part of clay, you should use two parts of sand and one part of silt.
Ensure you add sufficient straw to bind the mixture together. The straw should be enough so that each handful of cob has straw strands running through it.

You can use the mason jar test to ensure accurate soil proportions.
Make sure to sieve out any big pieces from sand and straw before mixing with clay.
Mix these constituents with water (five parts dry ingredients to one part water) and trample them with your feet until you get a thick paste that feels like soft cookie dough.
The cob is now ready for construction!
Step 5: Build Your Cob Walls
This is where you need a helping of elbow grease and creativity.
You can build the walls in any shape and as thick as you need them. However, it’s advisable to have your cob walls between 18 and 24 inches (45.72 and 60.96 cm) thick, according to the cob construction method.
So, what is the cob construction method?
The cob construction method involves building walls in courses – each course is left to dry completely before laying the next one. This creates a steady tapered wall, essential for the structure’s stability.
Here is how to approach wall construction:
Lay the First Course
The first course is vital because it sets the wall’s foundation. You want to ensure the wall is level and covers the entire length of your house.
Start by laying cob on the foundation. Ensure this base layer is 24 inches (60.96 cm) thick; you’ll keep reducing the thickness with height.
Each layer should be between 24 and 36 inches (60.96 and 91.44 cm) high before leaving it to dry to prevent slumping over.
Since you’ll leave the first layer to dry for about two to three days before building the subsequent layer, connecting the layers for a monolithic wall can be challenging. Therefore, creating a “spine and ribs” over the top of the first layer is advisable for easy interconnection.
Use this procedure to make a spine and ribs on the first layer:
- Create a ridge using cob loaves down the center of the first course.
- Attach the cob loaves tightly together.
- Attach the cob loaves to the top of the course.
- Attach cob loaves on both sides of the ridge at right angles from the ridge to the wall’s edge on the interior and exterior.
- Leave about 12 inches (30.48 cm) of space between each rib.
Once you start the subsequent layer, simply add cob to the first layer, covering the spine and ribs as you build higher.
The spine and ribs technique makes it possible to integrate the dry cob layer into a fresh cob layer for a monolithic wall. Also, it helps with re-bonding the layers if a crack appears in the wall.
Build Subsequent Wall Layers

Once the first layer is dry, it’s time to move on to the subsequent layers.
Keep adding courses until you reach your desired wall height. As you do so, remember to gradually reduce the wall thickness by course, ensuring the topmost course is at least 18 inches (45.72 cm) thick.
Building the subsequent layers involves placing, kneading, stomping, and trimming the cob.
Placing
Placing involves taking some cob and placing it on the wall. The amount depends on what you can carry.
Ensure to push each piece of cob against the next to form a continuous wall.
The pieces should be large enough to cover the wall’s full width. This prevents the walls from becoming too narrow and weak.
Kneading
You knead the cob pieces on the wall by pushing and pulling them with your fingers or a wooden board for large pieces. This helps create an even shape and allows for better adhesion between courses.
You should also check for gaps between the cob pieces and smear them together for good integration.
Smearing prevents the cob pieces from falling off the walls when stomping.
Stomping
Stomping is necessary to compact the cob pieces for enhanced strength. It involves using your feet to push and press the cob into place.
What you have to do is get on top of the cob and walk back and forth across it. This helps correct any irregularities in the cob pieces while increasing adhesion between them.
Remember to also hit the sides of the wall with the sides of your feet.
Trimming
You’ll have to trim the cob “oozing” from the sides of the wall and reapply it onto the wall.
Besides enhancing the wall’s beauty, trimming helps conserve cob.
You can trim the cob wall using a hay saw, machete, or hand saw. Make sure to wear protective gear and a face mask to prevent the cob from splashing into your eyes.
Use a curved knife to get an even cut for curvy cob walls.
Finally, use a trowel to level any unevenness for an attractively finished piece.
Repeat these steps until you reach the desired wall height. Remember to leave some space for doors and windows.
When you reach the top of the wall, create a moisture-retaining cap at least 4 inches (10.16 cm) thick for better weather protection.
Expert Advice: It’s advisable to consider wind and seismic activity in your area for a cob wall more than eight feet (2.44 meters) high. Moreover, the 2021 IRC cob building code recommends metal reinforcements for cob walls over eight feet (2.44 meters) tall.
Step 6: Install Windows and Doors

Use a door frame to form the doorway and secure it with cob.
Consider sinking 2” x 4” pieces of wood into the cob walls to secure your doors. You don’t have to worry about the wet mud destroying the wood because it will dry soon.
For windows, sink 2” × 4” wood pieces into the cob to act as window frames and secure them with more cob.
Step 7: Roofing
You should roof the house as soon as possible to prevent water damage.
You can choose between turf, earthen, metal, or tiled roofs.
Many people prefer turf roofs because they complement cob walls’ rounded, soft nature.
Roofing entails erecting a ridgepole in the middle of the house along its length, then attaching rafters at one-foot intervals from it.
Add a layer of insulation between the rafters and cover it with waterproof material before adding the turf.
Secure the ridgepole onto the cob walls with rope or wire to keep it in place.
Finally, the roof should slope downward and away from the house. This allows rainwater to drain off instead of accumulating around the foundation.
Step 8: Embellish and Waterproof Your Cob House

Apart from the beauty of a cob house, you can add artistic flair to your creation.
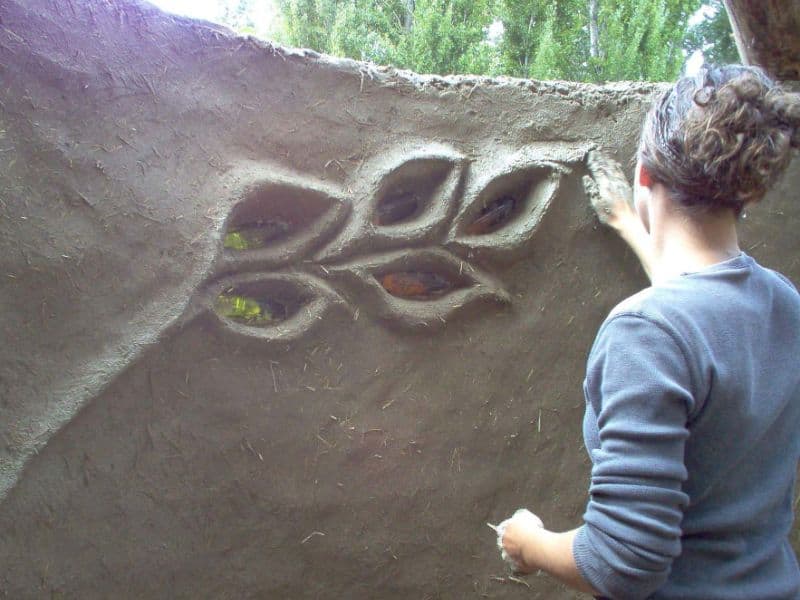
For instance, finish off the walls with any design that pleases you. You can also carve out designs within the walls or create an arch at the entrance.
Once your cob house is complete, seal the walls with linseed oil or lime plaster for waterproofing.
Are Cob Houses Easy to Build?
Although labor-intensive, cob houses are easy to build and maintain. The cob construction method is straightforward; you only need to layer and customize the walls to your liking.
How to Build a Cob House – Final Thoughts
Building a cob house is an excellent way to connect with nature, reduce your carbon footprint, and create a unique home.
With the modern techniques we’ve discussed, you can build a durable and structurally sound cob house that’ll stand the test of time.
Now that you know how to build a cob house, you might want to add an area of eco-friendly decking outside. Here is an article about how to build an eco-friendly deck while staying within budget.


