How Much Do Reclaimed Wood Ceilings Cost: Labor + Materials?

Let’s face it – sometimes a bit of doubt creeps in and makes you wonder if you’re being taken advantage of by contractors in any renovation project.
As such, you always want to know the rough cost of a project beforehand so you know what to expect. Knowing the cost of a reclaimed wood ceiling, including labor, will help you budget your finances confidently.
Reclaimed wood ceilings cost between $5 and $20 per square foot. The reclaimed wood ceiling cost per square foot depends on wood species, grade, size, and finishing. You can expect to pay between $1 and $4 per square foot for labor to install tongue and groove ceilings.
In the rest of this article, I’ll discuss the factors that affect the cost of reclaimed wood ceilings and the process of installing them.
I’ll also discuss their benefits and disadvantages to help you make an informed decision. Let’s get started!
Factors That Affect the Cost of Reclaimed Wood Ceilings

Breaking down the average cost you should expect to pay for a reclaimed wood ceiling is not very meaningful.
This is because every project is different, and different factors come into play when budgeting for this material. These factors include:
The Type of Wood
The value of wood depends on durability, resistance, rarity, and how easy it is to work with. Of course, supply and demand significantly influence the price, too.
The scarcer a particular reclaimed wood is, the higher its cost. For instance, old-growth mahogany and heart pine are expensive because they are some of the rarest species to find.
Therefore, expect to pay more for rare wood than common wood species like white oak for your reclaimed wood ceiling project.
The Size of the House

The cost of reclaimed wood is determined per square foot. So, the bigger your house, the more reclaimed lumber you’ll need, and the higher the cost.
Let’s do some math to cement this point:
Let’s assume your home’s square footage is 2,000 while that of your neighbor is 1,450. How much raw material do you need to install reclaimed wood ceilings for these homes?
You’ll need 2,000 square feet of reclaimed wood ceiling, while your neighbor will need 1,450 square feet.
Working with an average of $12.5 per square foot:
- Yourself: (2,000×12.5) = $25,000
- Neighbor: (1,450×12.5) = $18,125
Therefore, you’ll pay $6,875 ($25,000-$18,125) more than your neighbor for a reclaimed wood ceiling because your house is bigger.
Labor Costs
Labor is an essential factor for the success of any project.
The labor cost depends on your location and the project’s complexity. Contractors will charge you anywhere from $1 and $4 for labor.
To be safer, ask for a quote before hiring a contractor for your reclaimed wood ceiling project. This way, you’ll know what to expect in terms of labor costs.
Refinishing

Refinishing a reclaimed wood ceiling involves processes like sanding and staining.
It’s worth mentioning that it’s not necessary to refinish a reclaimed wood ceiling, especially if you want to maintain its rustic nature and patina. However, you can refinish it if you want to match your home’s decor.
The cost to stain tongue and groove ceilings can range from $3 to $8.
Grade
Reclaimed wood ceilings come in prime, select, natural, and rustic grades.
The more imperfections present on the ceiling board, the lower the grade, and vice versa.
Higher grades have fewer imperfections like knots and nail holes, making them more expensive than lower grades.
Expert Advice: You can use the tongue and groove ceiling calculator to estimate the quantity of ceiling materials. You only need to enter your ceiling’s length and width.
The Process of Installing Reclaimed Wood Ceilings
If you’re a DIY enthusiast, you may want to save a few bucks by installing the ceiling yourself. However, before going this route, it’s worth noting that the process can be quite long and tedious. Therefore, get prepared for the challenges that come with a DIY project.
On the other hand, if you hire a professional, they will complete the job in no time and you can be reassured that it will be good quality due to their experience.
Having said that, let’s get into the process.
Step 1: Get the Tools
You need to have the necessary tools at hand for a seamless process.
You’ll need the following tools:
- Chalk
- Stud finder
- Screwdriver
- Finishing nails
- Nail gun/hammer
- Measuring tape
- Construction panel adhesive
- Miter saw
- Circular saw
- Soft rag
- Wood putty
- Wood trim molding
- Sanding paper

Step 2: Acquire Reclaimed Wood
You can buy reclaimed lumber from specialist suppliers or acquire it locally.
The benefit of buying reclaimed wood from suppliers is that it comes repurposed. You don’t have to go through the tedious process of de-nailing and checking for pests. However, this comes at a cost.
On the other hand, although acquiring the wood locally helps save money, you should be ready to manually remove the nails and inspect for pests.
The following are a few ways to get reclaimed wood locally:
- Repurposing existing wood: Repurpose old wood from decking, sheds, or barns.
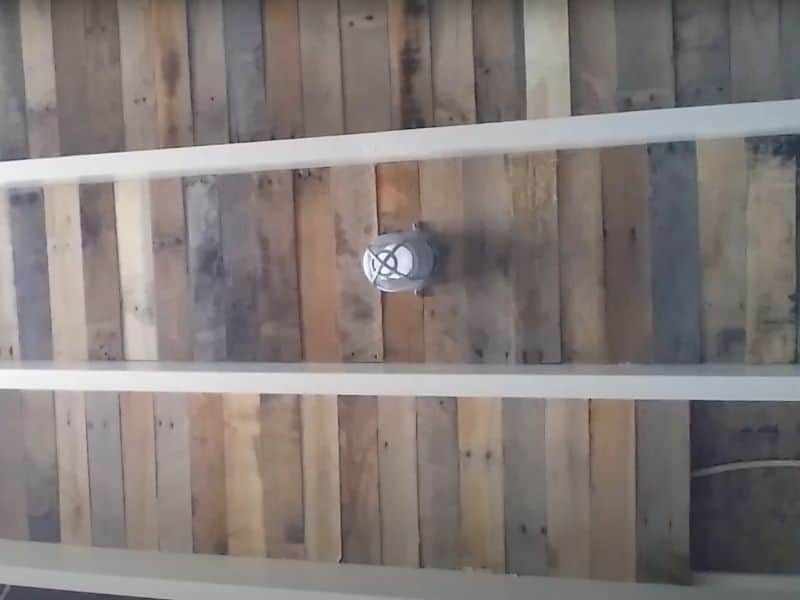
- Reclaimed pallets: You can use wood from old shipping pallets for a reclaimed wood ceiling.
- Demolitions: Visit demolition sites to get your hands on some good pieces of reclaimed wood.
- Visit local firms: If you live in a rural area, consider visiting local firms to look for a stockpile of old lumber.
Step 3: Decide on the Ceiling Pattern
We have different tastes when it comes to home decor. Thus, you should choose a reclaimed wood ceiling pattern that meets your taste and décor.
Some common reclaimed wood ceiling patterns include:
- Diagonal: It involves installing the reclaimed wood planks from the room’s corners. You can opt for this pattern to draw attention away from the corners.
- Herringbone: It involves creating short rows of parallel, slanted planks.
- Staggered: Installing the planks so the edges aren’t lined up perfectly.
Step 4: Prepping the Ceiling
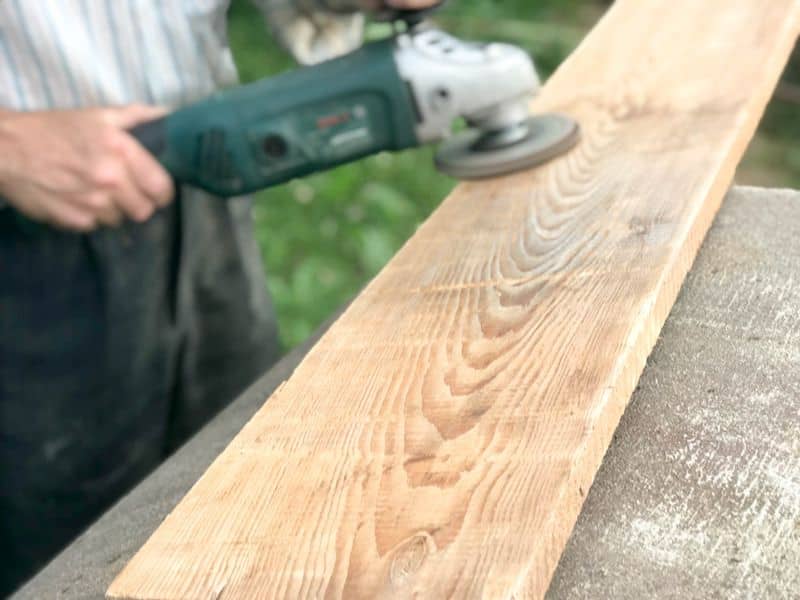
This step involves sanding the rough parts of the planks to smoothen them. You should also paint the pieces of wood if you want to remove the natural appearance.
Moreover, if you acquired your wood locally, check for nails, screws, and other fasteners and remove them. You should also inspect the planks for pests like termites and remove them using pesticides like termiticide.
Turn off the electricity and use a screwdriver to remove ceiling fan fixtures and overhead lights. The only part you need to remove is the canopy that covers the wires.

Step 5: Locate the Ceiling Joists
Use the stud finder to locate the ceiling joists. The height of each joist should be the same and 16 inches (406.4 mm) apart from one another.
Mark those areas using a chalk line to ensure an even installation surface. You’ll install the reclaimed wood planks perpendicular to these joists.
Step 6: Mark the Starting Points
Use a measuring tape to measure 1/4-inch gaps all around from the wall to the ceiling and mark them. These gaps will allow for free expansion and contraction of the wooden ceiling due to room humidity variations.
Step 7: Start Installing the Reclaimed Wood Ceiling
Create a serpentine bead of construction panel adhesive at the back of one piece of reclaimed lumber. Position the plank such that the groove faces the wall and position it along the starting point.
Pull the plank back and forth for the adhesive to spread.
Finally, use finishing nails to attach the plank to the joists. For stability, have two nails into each joist from each side of the wood.
Step 8: Install the Second Plank
Apply adhesive to the second plank in a serpentine pattern. Install this plank with its groove fitting into the tongue of the first plank.
You can use a blind nailer instead of the finishing nails to secure the tongues. A blind nailer will not be visible from the surface.
Step 9: Install the Remaining Planks
Continue installing the remaining planks based on steps 7 and 8, maintaining the 1/4-inch gap all around the wall. Press each plank firmly after installing it to ensure the adhesive adheres.

Install the last plank so that the tongue fits into the groove of the first one. This will create an invisible seam, making your ceiling more appealing.
Step 10: Cut and Attach Wood Trim Molding
Measure the distance from the wall to the last plank. Cut a piece of trim molding to that length at 45 degrees using the miter saw.
Attach the molding all around with finishing nails.
Step 11: Final Touches
Fill the nail holes with wood putty and sand them. You can paint or stain the ceiling depending on your taste. Use the soft rag to clean excess wood putty and stains from the ceiling.
Finally, place your reclaimed wood ceiling fan and light fixtures back in place and connect the electricity.
Here is a video to help you visualize the above process of installing a reclaimed wood ceiling:

Benefits of Reclaimed Wood Ceilings
The following are the benefits of reclaimed wood ceilings:
- Sustainability: Salvaged wood is an eco-friendly material since it involves repurposing wood that would otherwise end up in landfills. It also helps reduce the demand for new wood, thus, conserving forests.
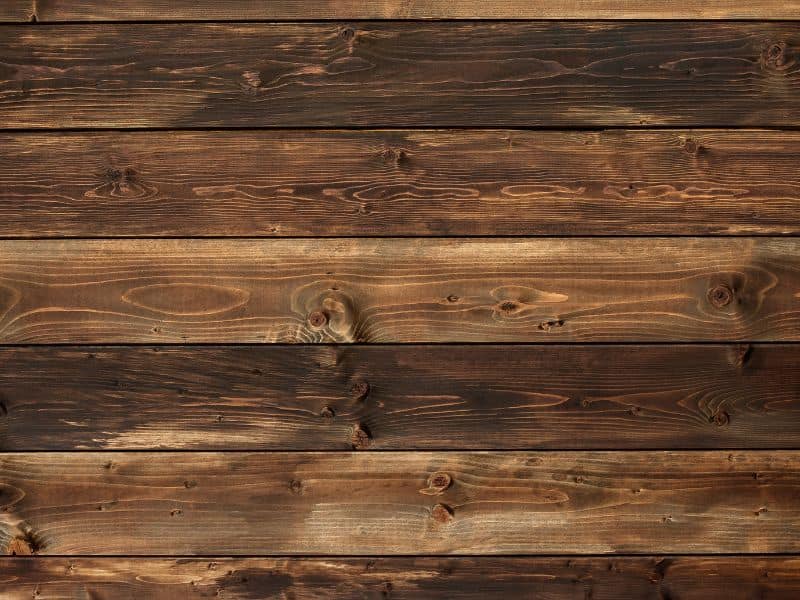
- Aesthetics: Reclaimed wood has a unique and rustic look that adds character and warmth to any space.
- High Durability: Old-growth wood is usually denser due to its longer maturity period. Therefore, it’s more durable than virgin wood.
- History and story: Reclaimed lumber has a story behind it since it has lived through different periods. Consequently, it’s more special and unique than other materials.
Disadvantages of Reclaimed Wood Ceilings
- Expensive: Reclaimed wood is more expensive than new wood, requiring sourcing and repurposing.
- Inconsistency: Reclaimed wood often has variations in color, texture, and quality. This makes it hard to achieve a consistent look throughout the ceiling.
- Tedious installation: Installing reclaimed wood ceilings is more tedious than traditional ceilings due to irregularities in salvaged lumber.
How to Calculate the Number of Ceiling Boards

You can calculate the number of ceiling boards by multiplying the ceiling’s length by the width in inches to get the total area. Divide the result by 144 to get the square footage of the ceiling, and then divide it by the square footage of each ceiling board.
For instance, let’s assume your ceiling measures 60 by 40 inches. You want to install reclaimed wood ceiling boards measuring 1’x 6. How many boards do you need?
Ceiling area: {(60×40)/144} = 16.67 square feet.
Board area: {(6×1)/144} = 0.042 square feet.
The number of ceiling boards = Ceiling area in square feet ÷ board area in square feet
Total number of ceiling boards = 16.67÷ 0.042 = 400.
Therefore, you’ll need approximately 400 (1’x 6′) ceiling boards. It’s advisable to add at least 5 percent of the boards to cater for wastage.
In our case, 5% of 400 is 20. So, you’ll need a total of 420 ceiling boards.
Final Thoughts On Reclaimed Wood Ceilings Cost
Reclaimed wood ceilings are a worthy addition to any home or commercial space.
While the cost of labor and materials may vary depending on factors like space size and the type of wood used, the investment is worth it in the long run.
Besides adding unique character and charm to a room, reclaimed wood ceilings reduce waste while promoting sustainable building practices.
Before you leave, check out this article about another sustainable building material, which covers the ten types of bamboo to build with and why they work.


